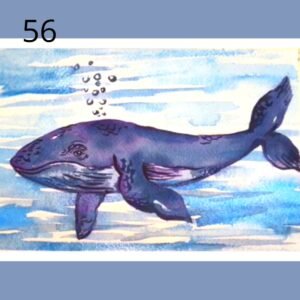
Watercolour painting is the practice of applying water plus pigment into a surface, usually watercolour paper. The pigment/paint is commonly applied with a brush. It can be a great fun and an enjoyable experience. It’s a very relaxing and a satisfying process, where you can see yourself getting better and better with time by practicing a bit every day. Our short tutorials aim to inspiring and motivating you to create your own art pieces.
Get your reference photo ready.
Decide what techniques you are going to use and plan ahead.
Get you material ready
Relax and enjoy the painting process.
To start you will not need a lot of materials. Lets begin with:
- 3 round brusher (Large,Medium,small).
- 2 flat brushes
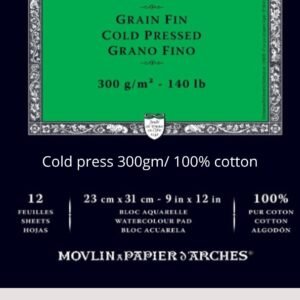
- Watercolour paper: cold press 100% cotton with 300gm
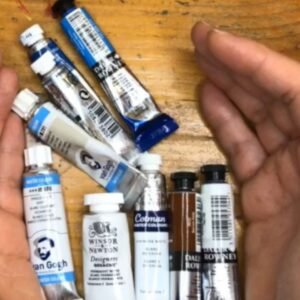
- Professional grade paint of any brand.
- painting palette: porcelain/Ceramic or paint palette aluminium with white coating
- masking tape
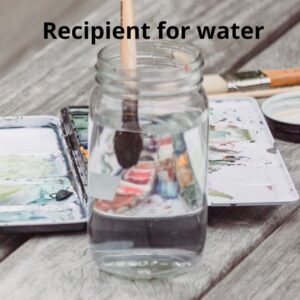
- Recipient for water
- cloth to dry the brush
- Good quality line pen
- Good quality watercolour paint

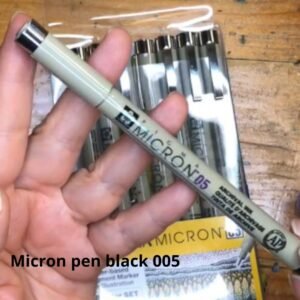

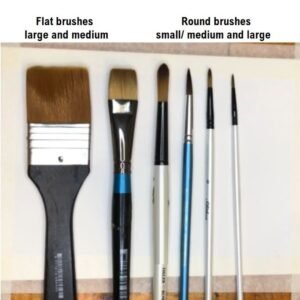
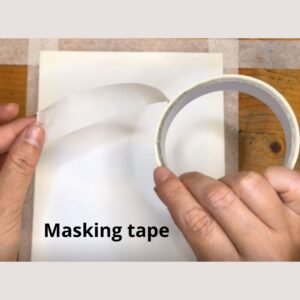

Use a transfer paper or carbon paper or pencil graphite technique to transfer you illustration into your watercolour paper. Download the template here.
If you have a question please feel free to contact us. Please note that reply can take up to 7 days

Using the ruler, let’s start by creating a horizontal line on our watercolour paper.
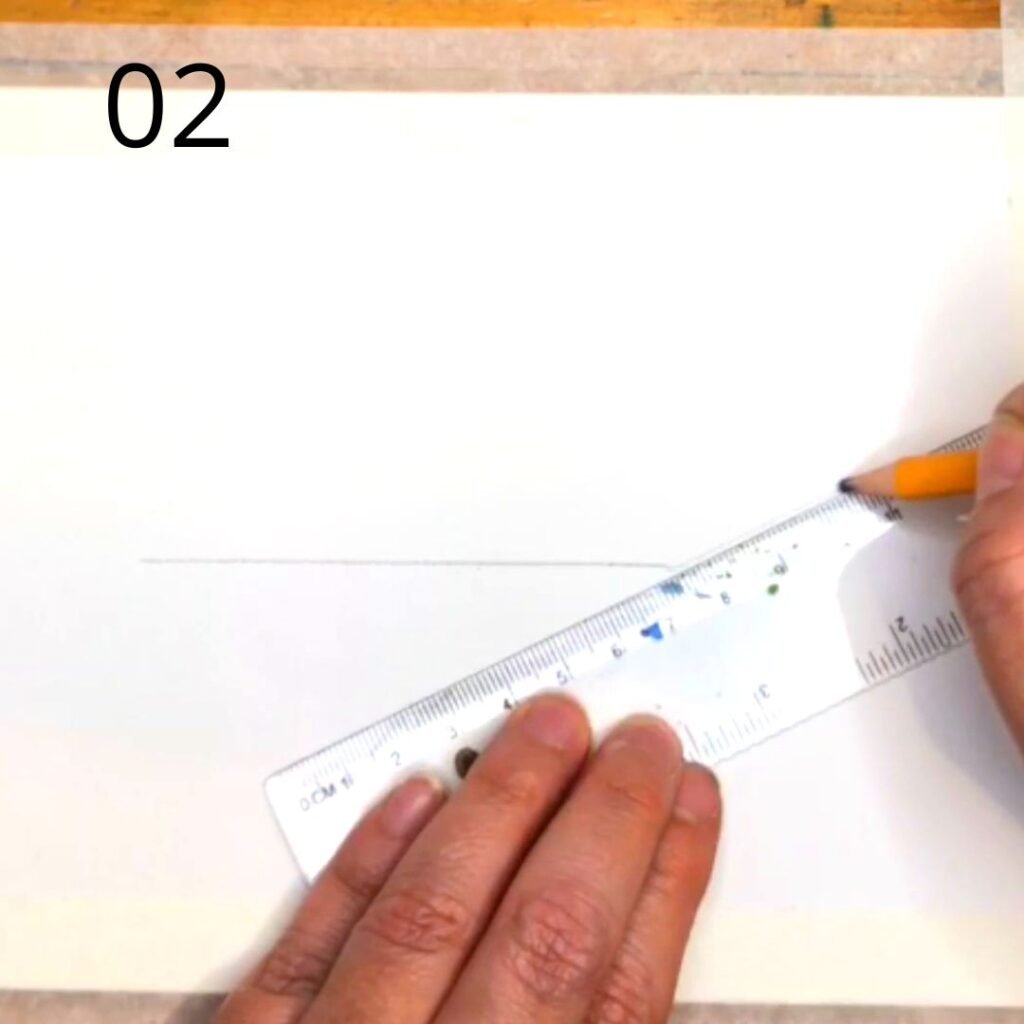
and an extra straight line, pointing up at the end of the first horizontal line we first create.
using the guide of the two lines, add a round shape above and under the vertical line.
repeat the same process to the second line.

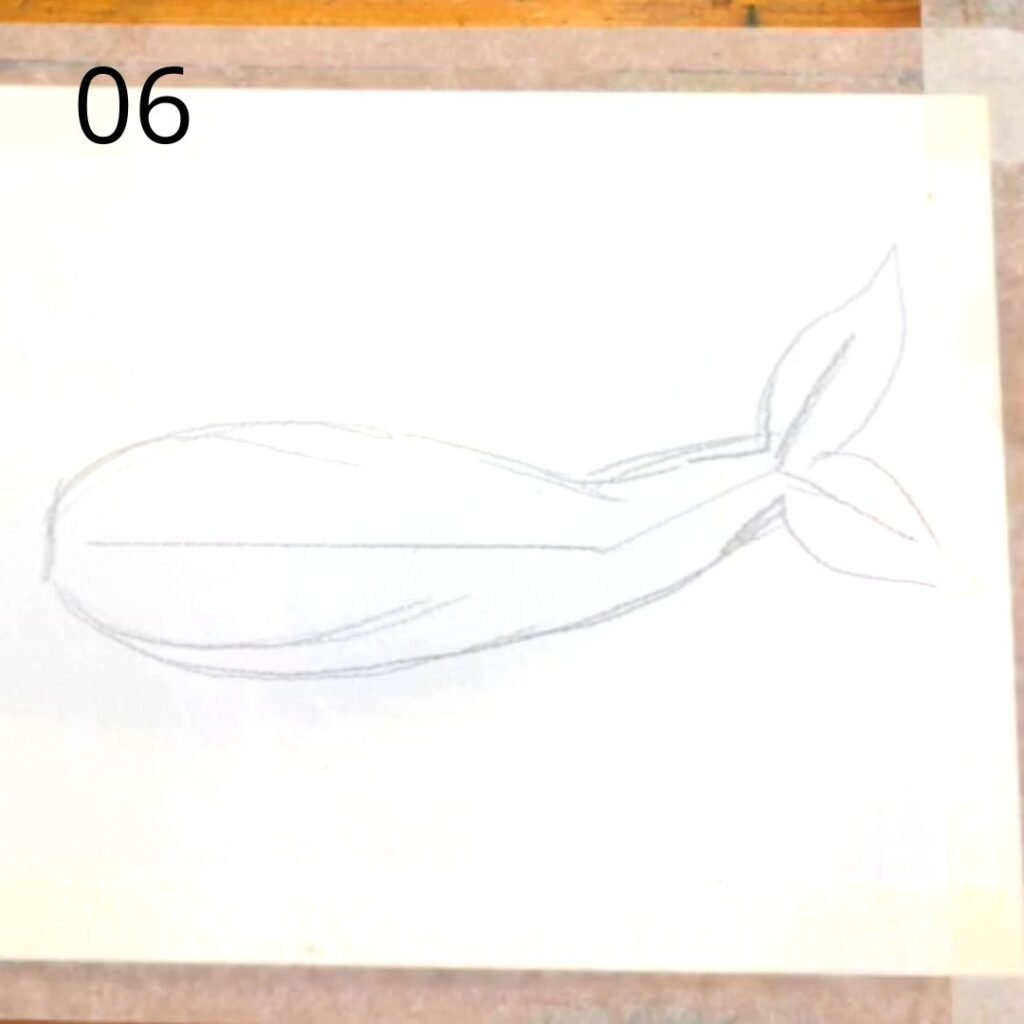
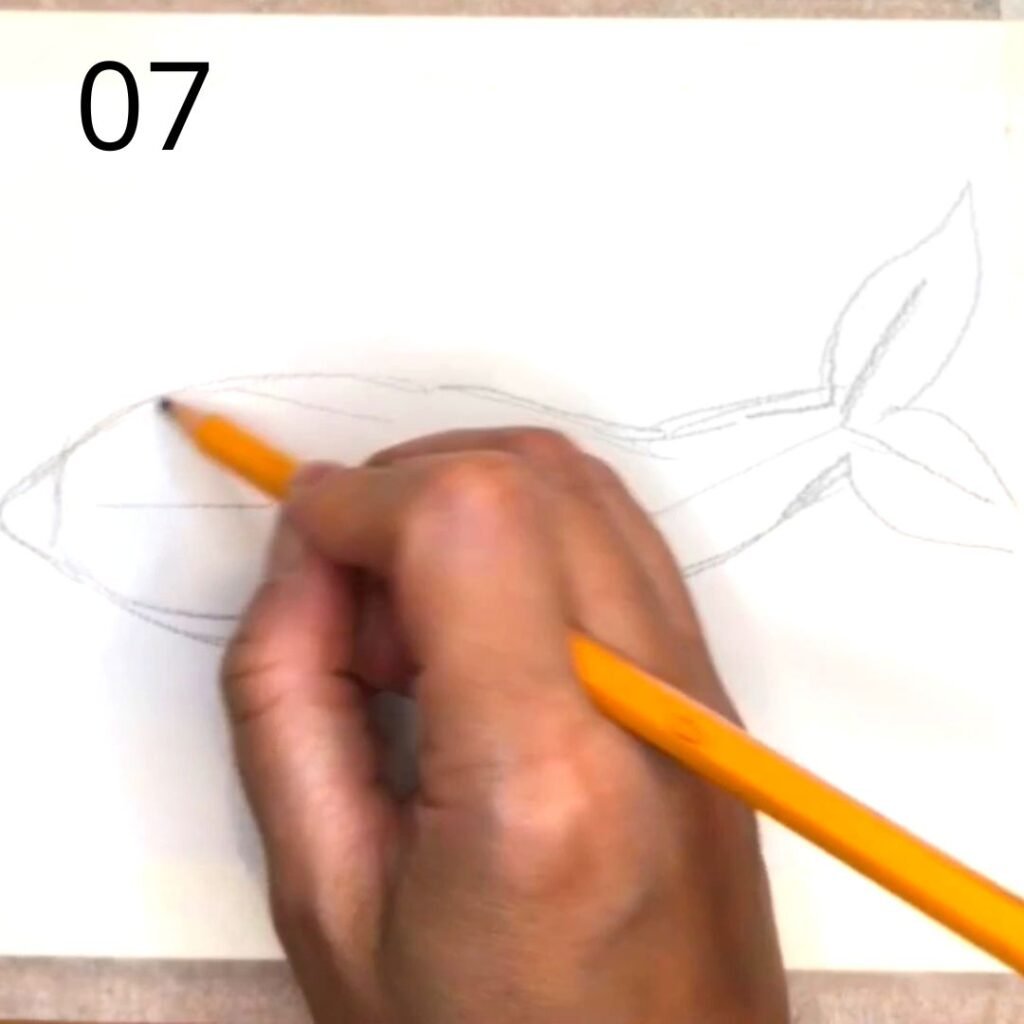
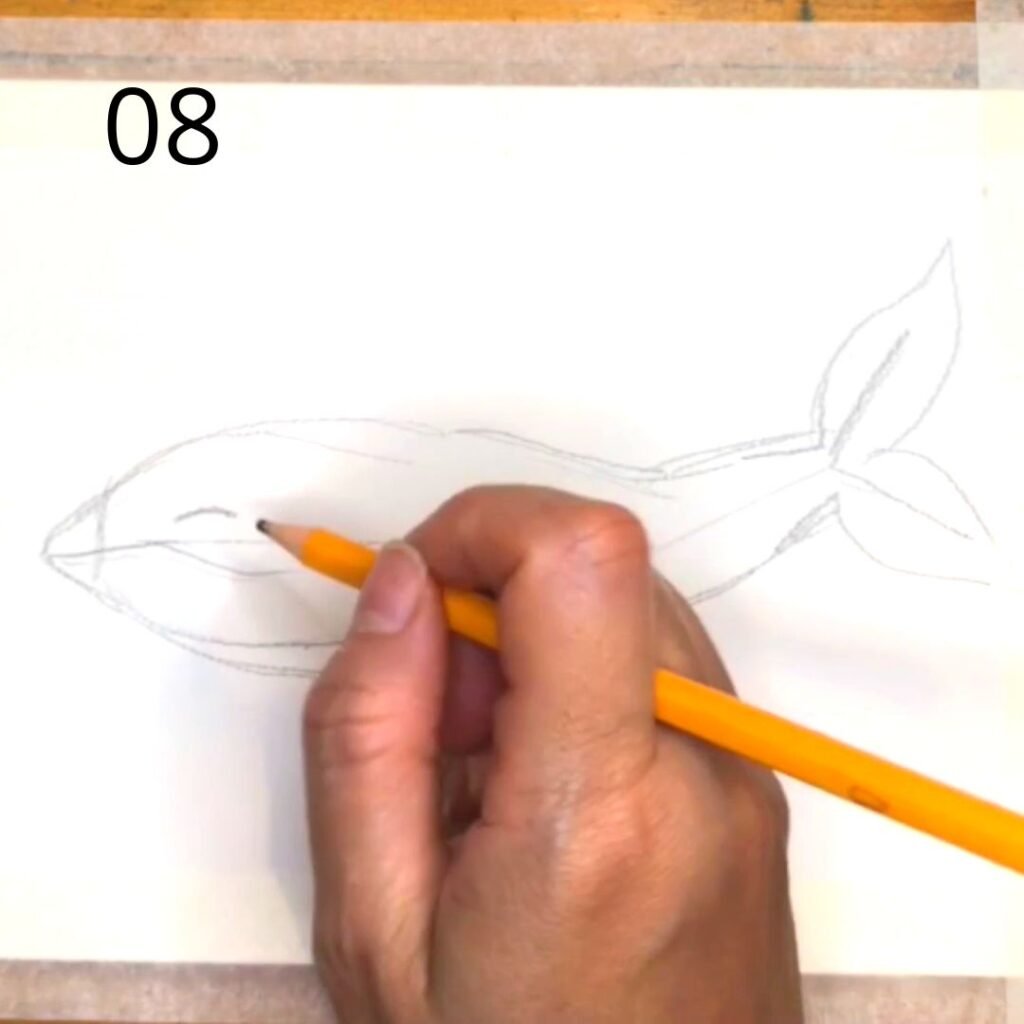


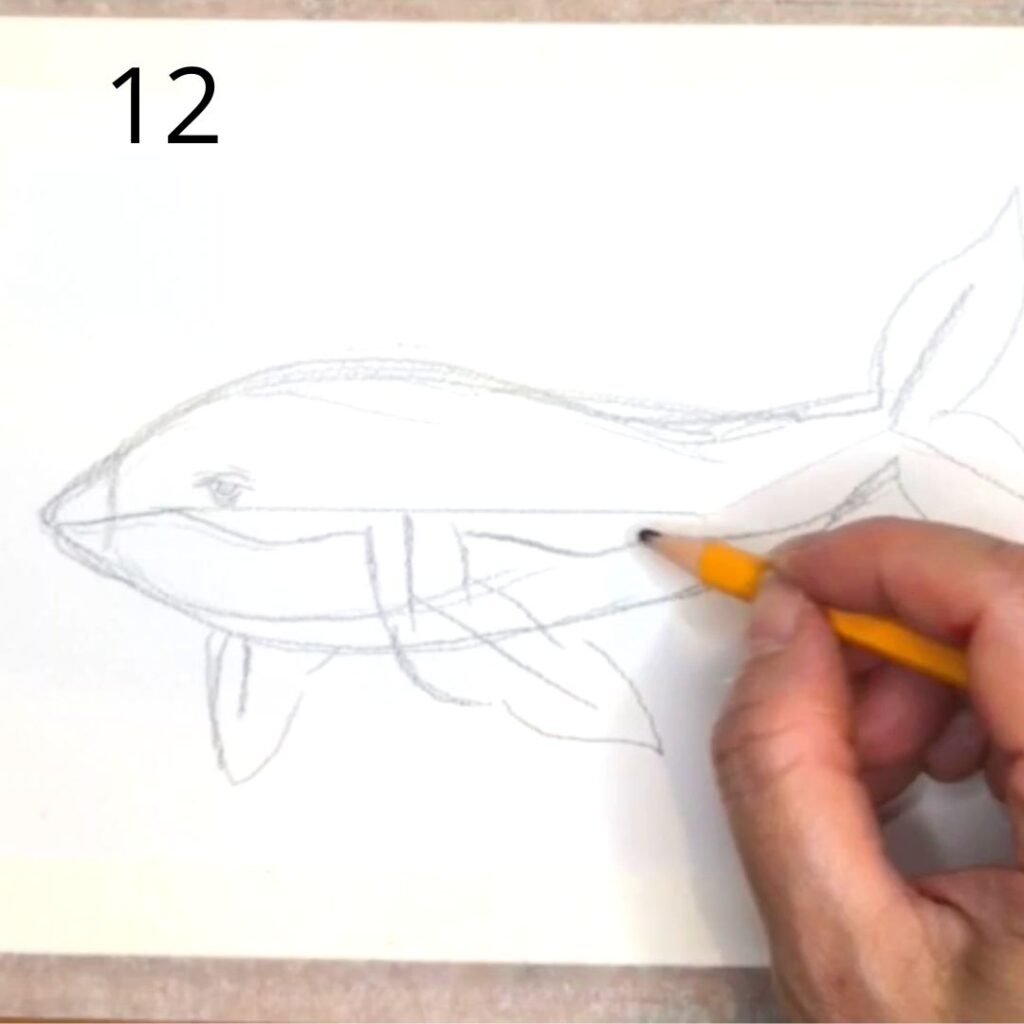
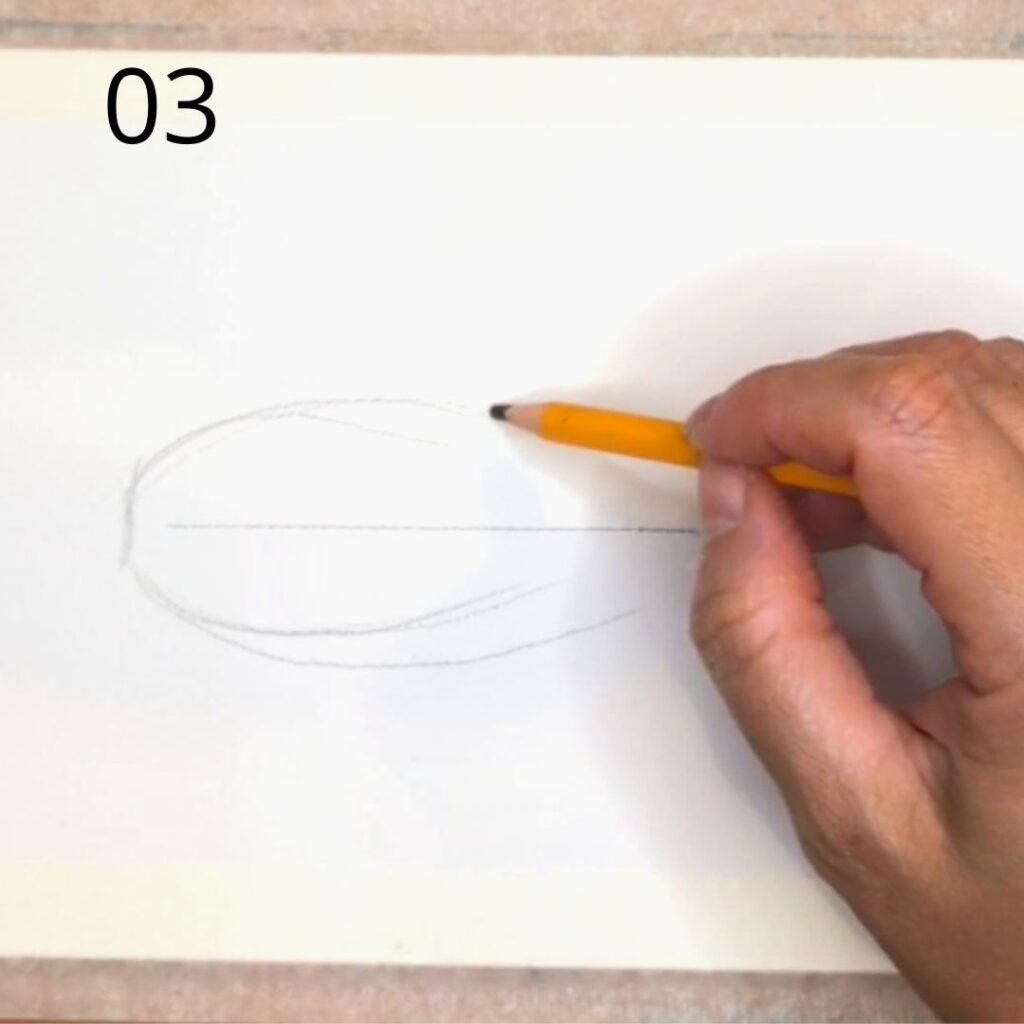
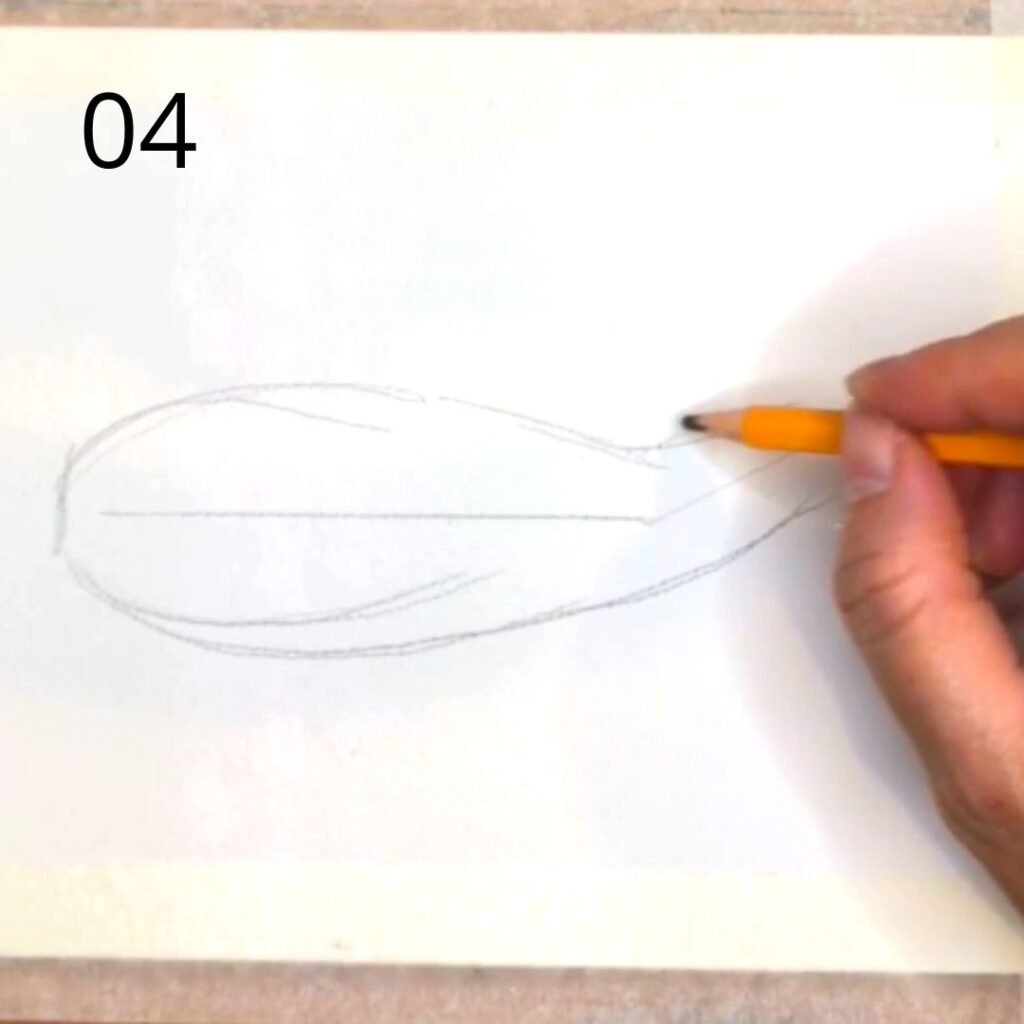
5- use the lines to shape the wale. 6/8- adding the mouth and eye. 9-is looking good but if not just use the eraser and star again. 10/12- carefully let create and connect lines to give shape to the wale body.

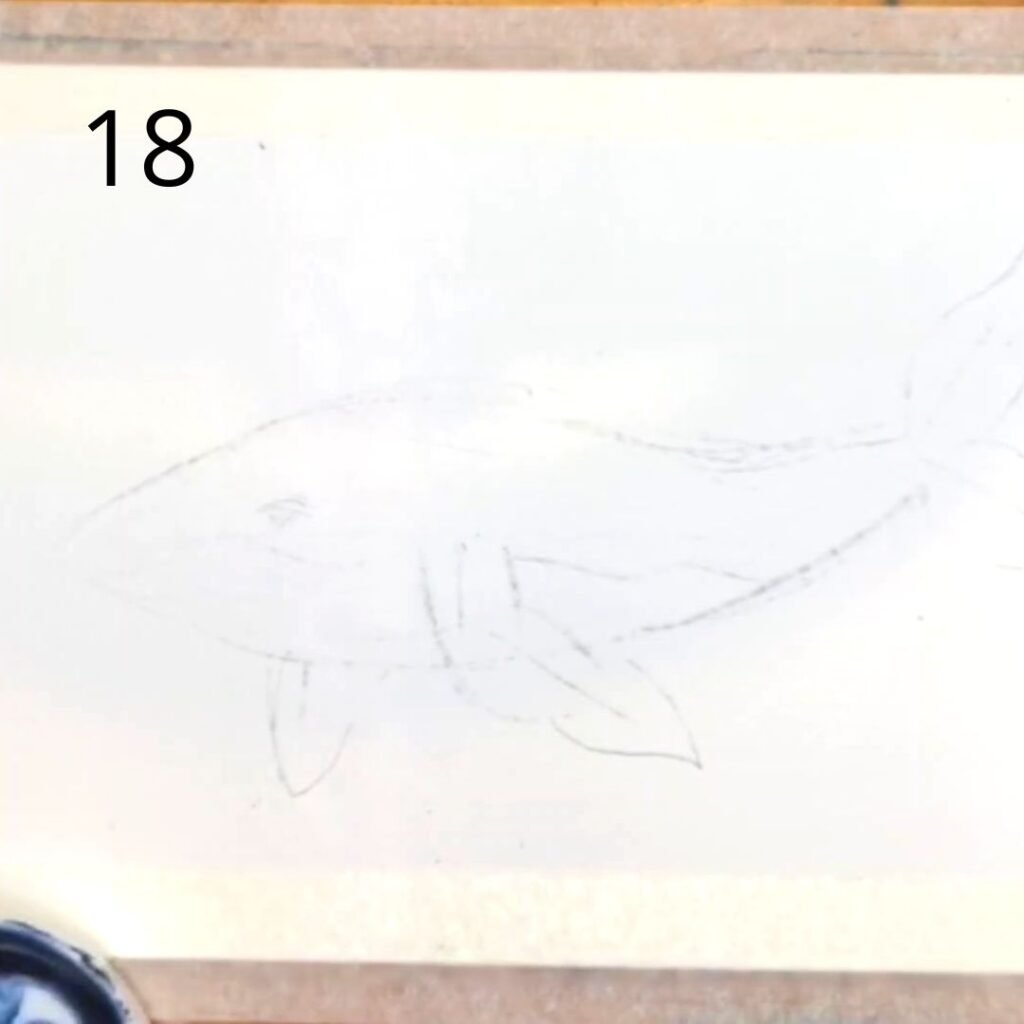
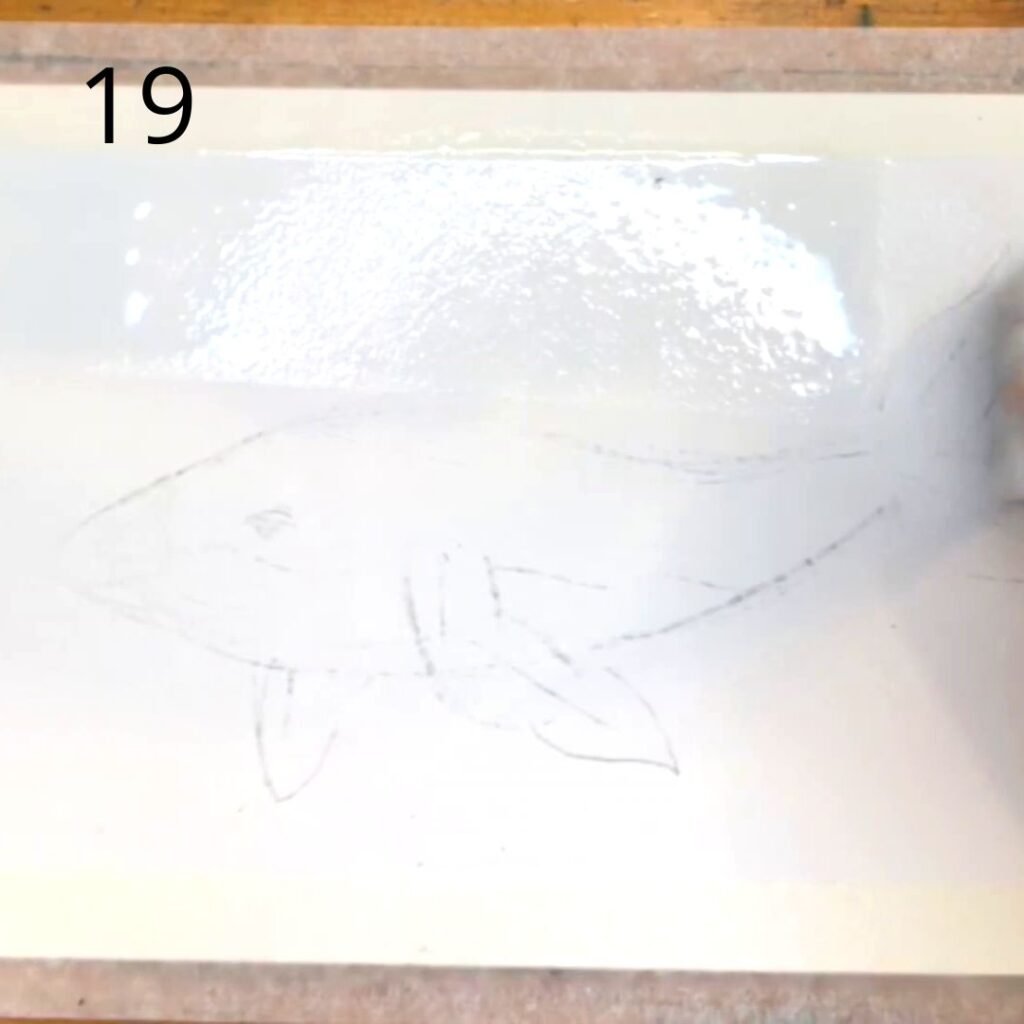
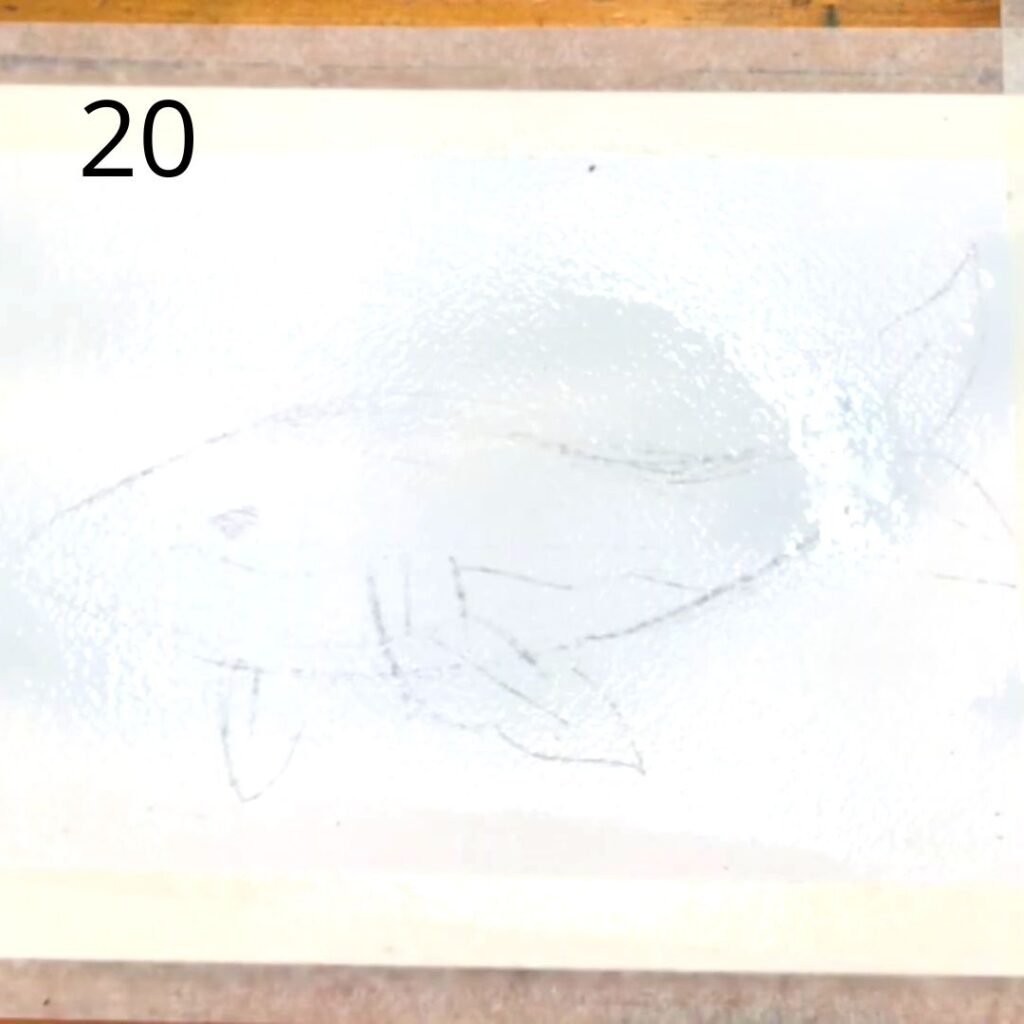
17- then erase the hard line leaving an almost invisible sketch. 18- like this. 19- apply some water all around the wale.

while the paper still wet, and using the wet-on-wet technique and apply some light blue on top of the wet area.
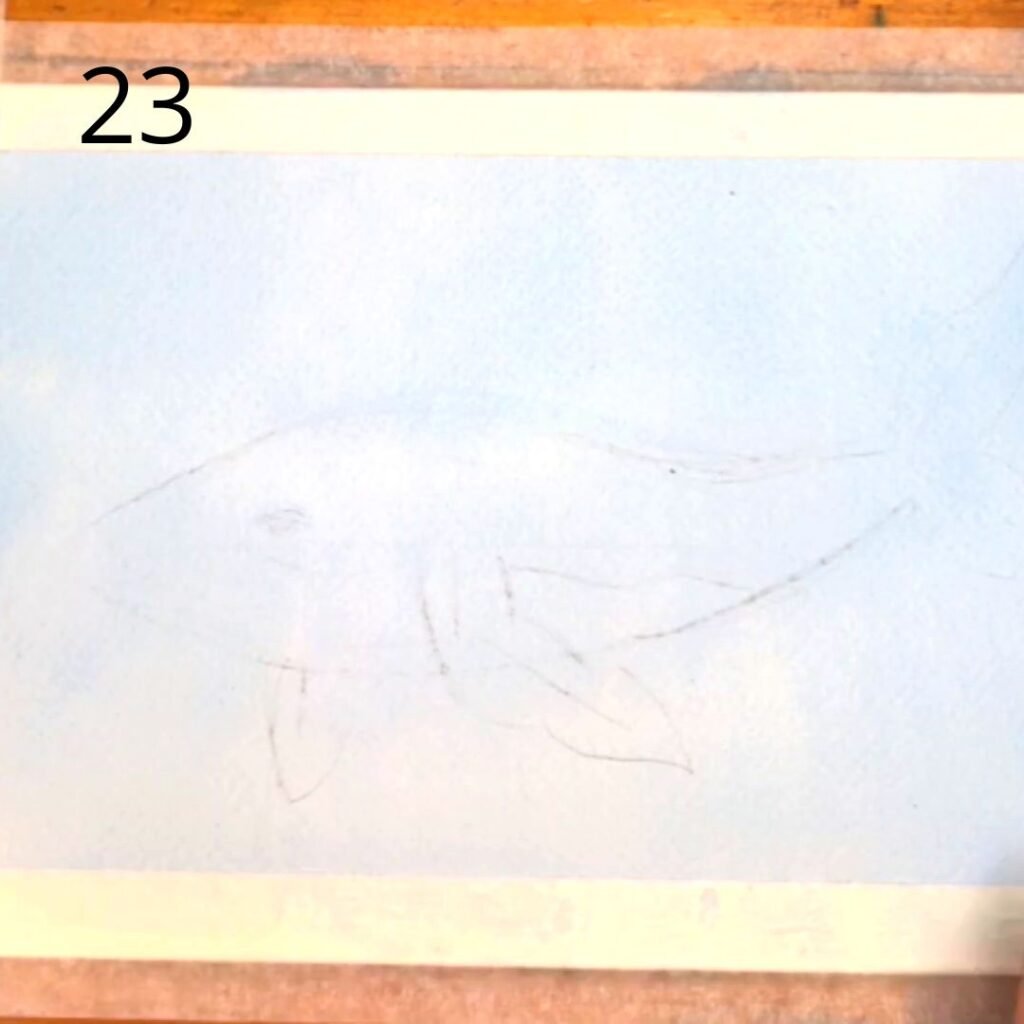
let dry or use the hair dryer.
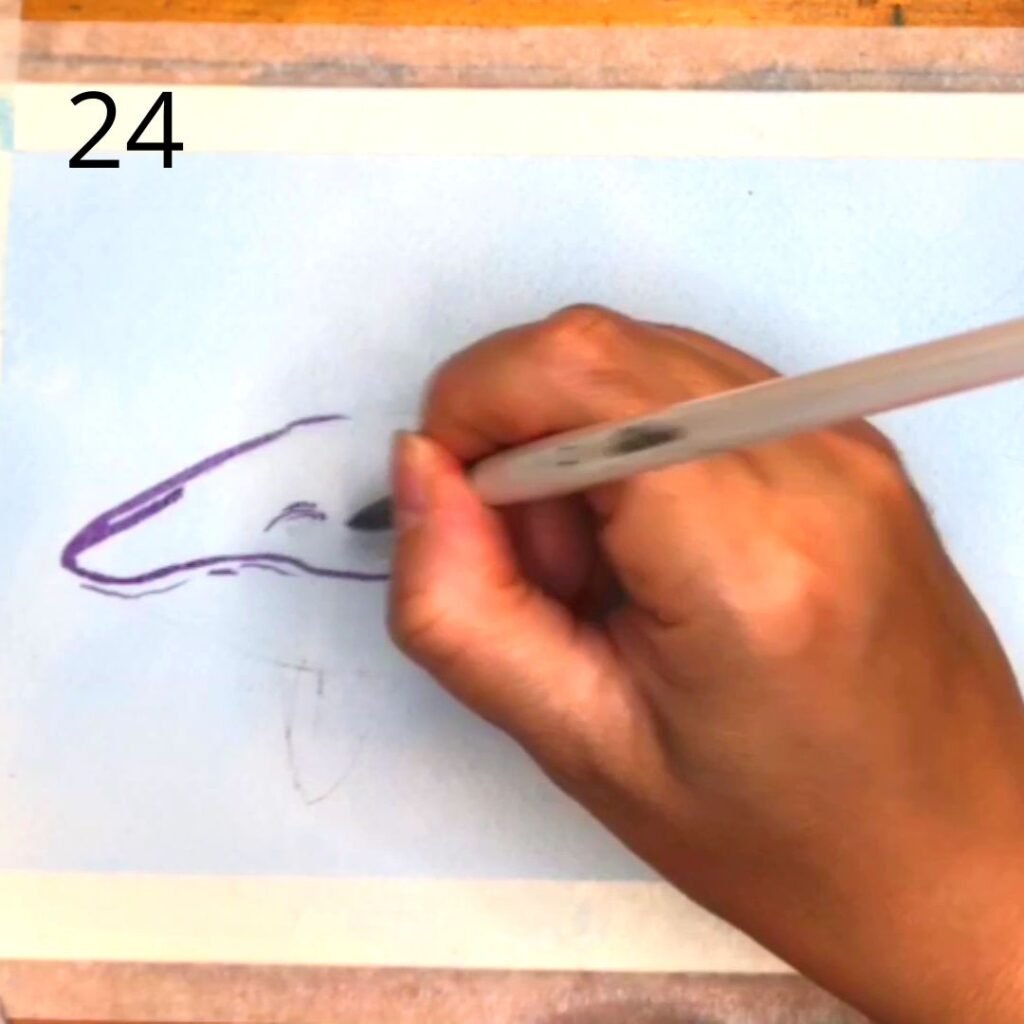
using a strong straight of purple, go around on top of the sketch outlining the wales body.

start by the head take you time to add lines and shape the wale using the sketch as guide.
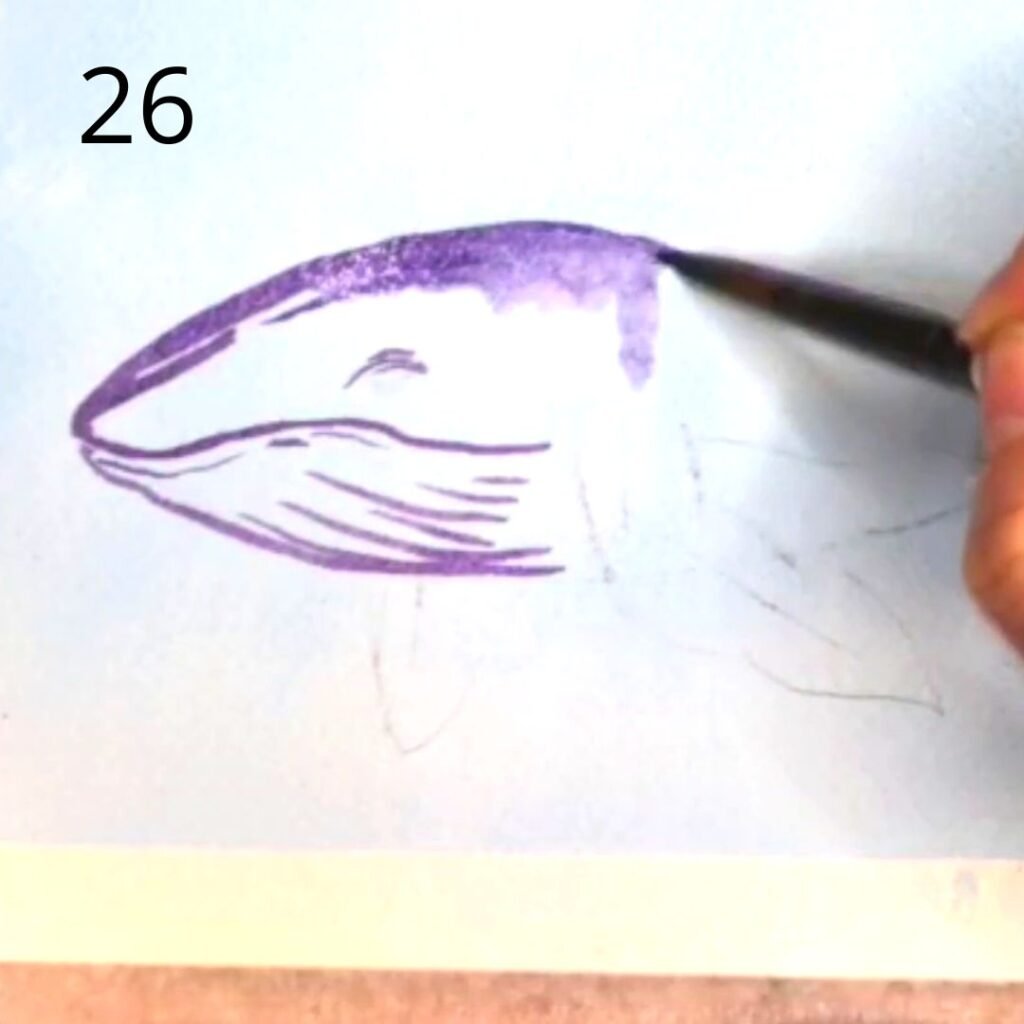
while still wet, dip you brush into water and go on top of the previous lines painted, softening the area and dragging down the light paint to the up part of the wale body.
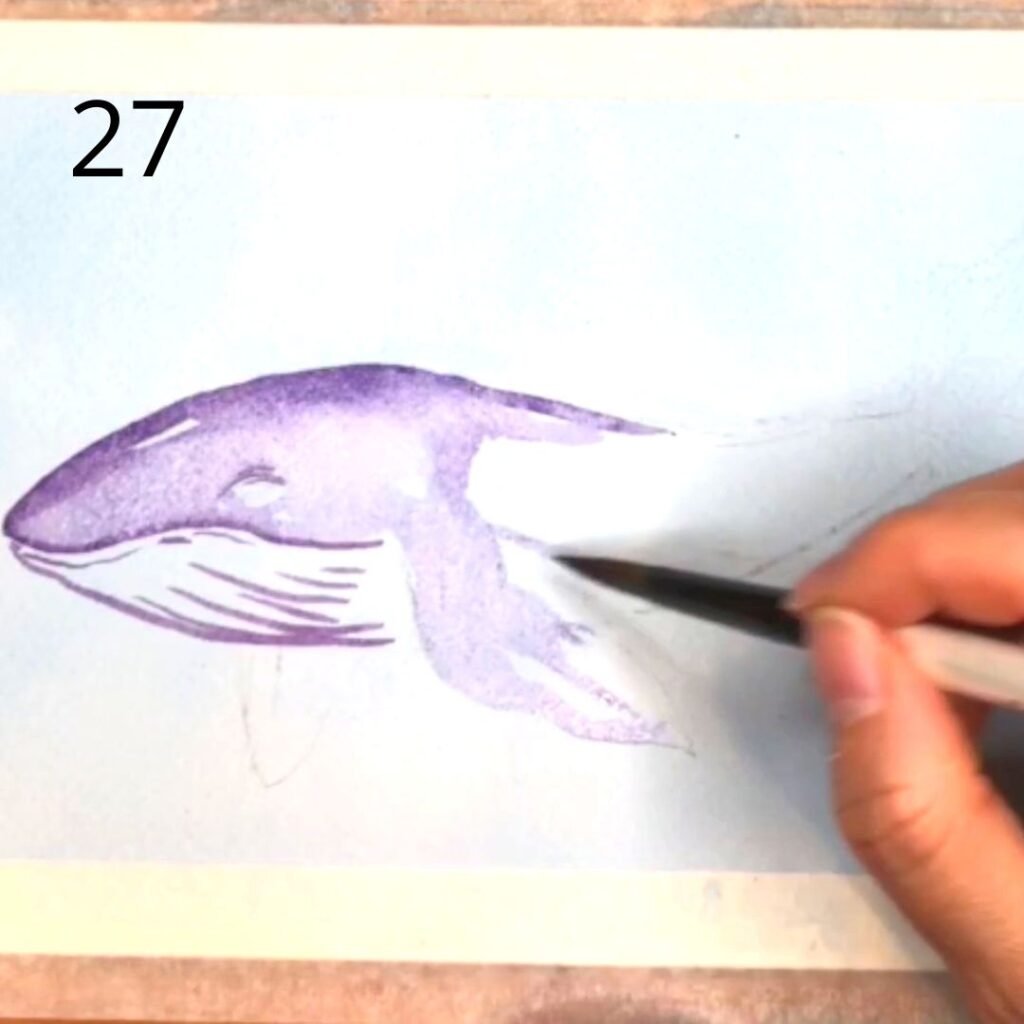
keep going from the middle body down.
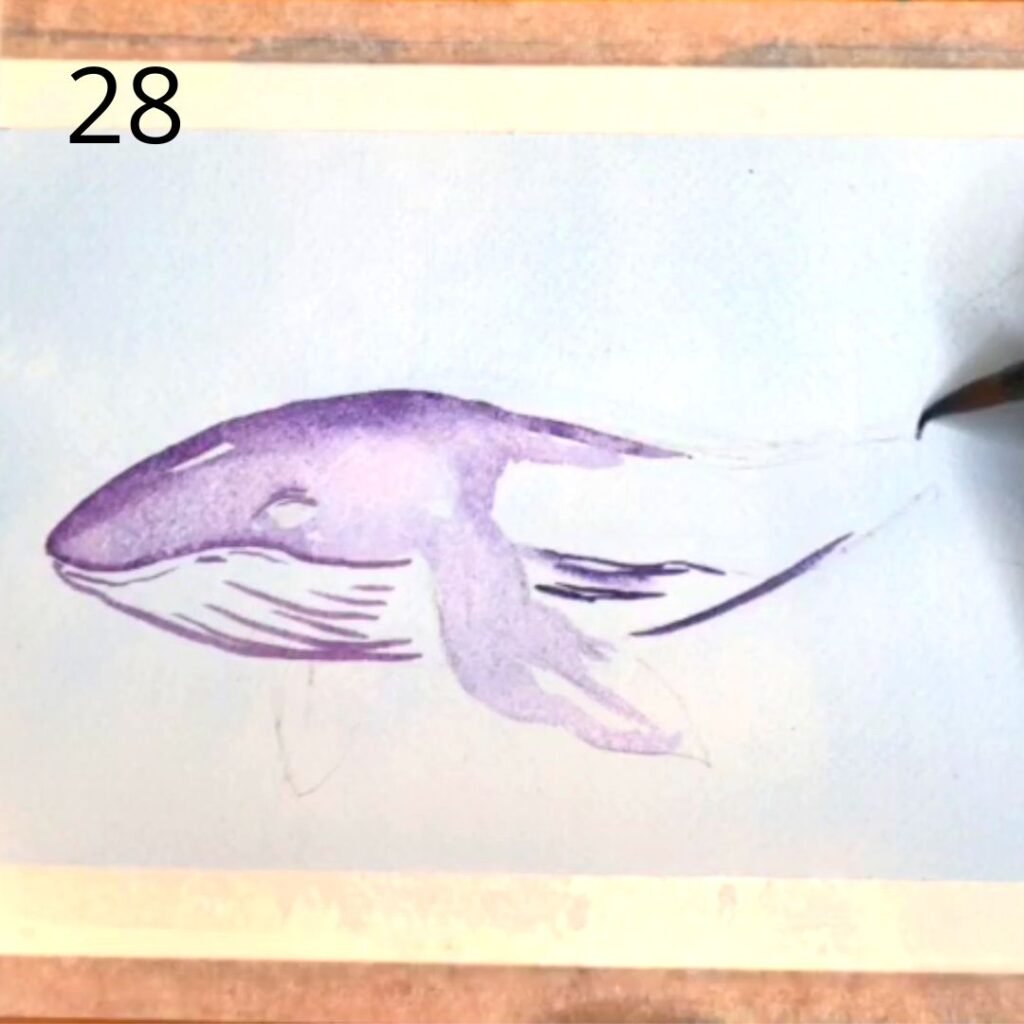
use strong blue to add some lines to the half down body and fluke of the wale.
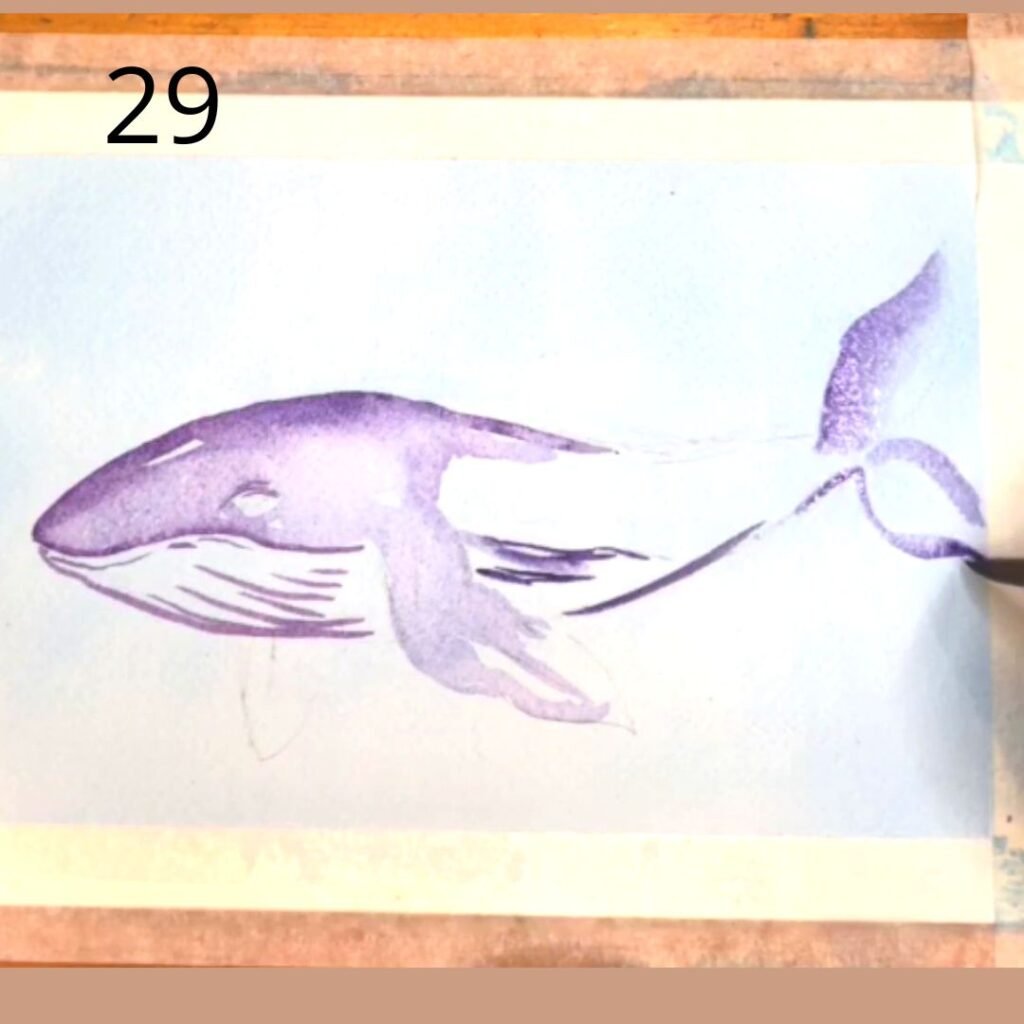
keep going shaping the flukes of the wale.
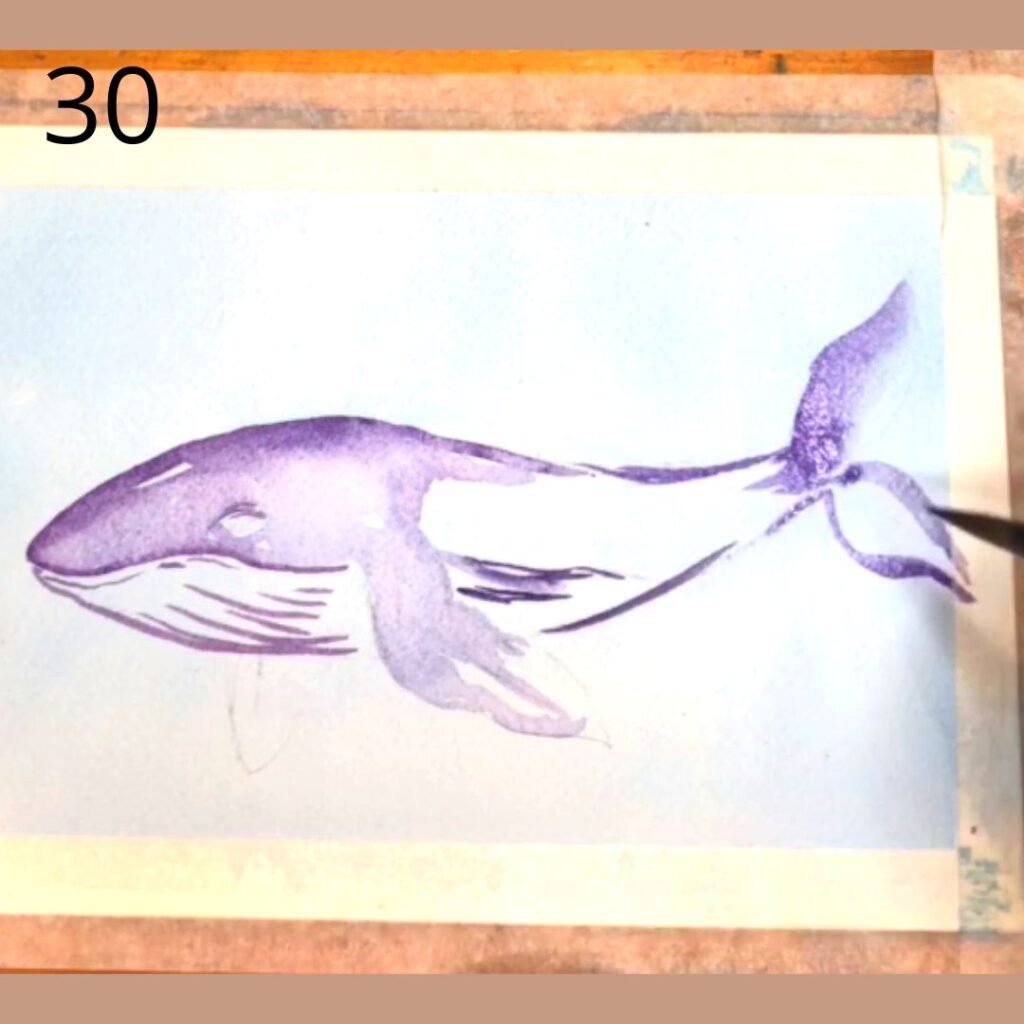
add some extra shadows using strong purple in some areas of the up area of the wale body. leave the belly white for the moment.
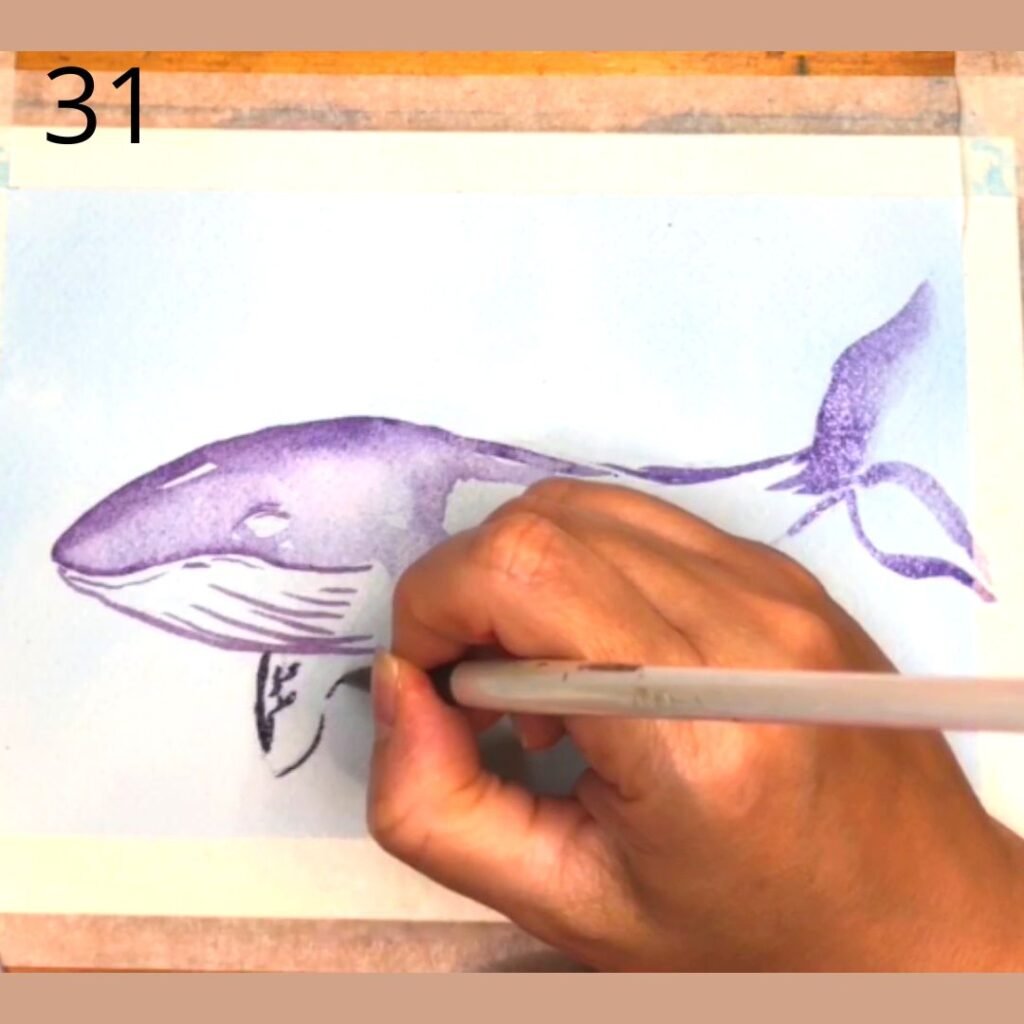
time to paint the flippers, just some lines around the sketch.
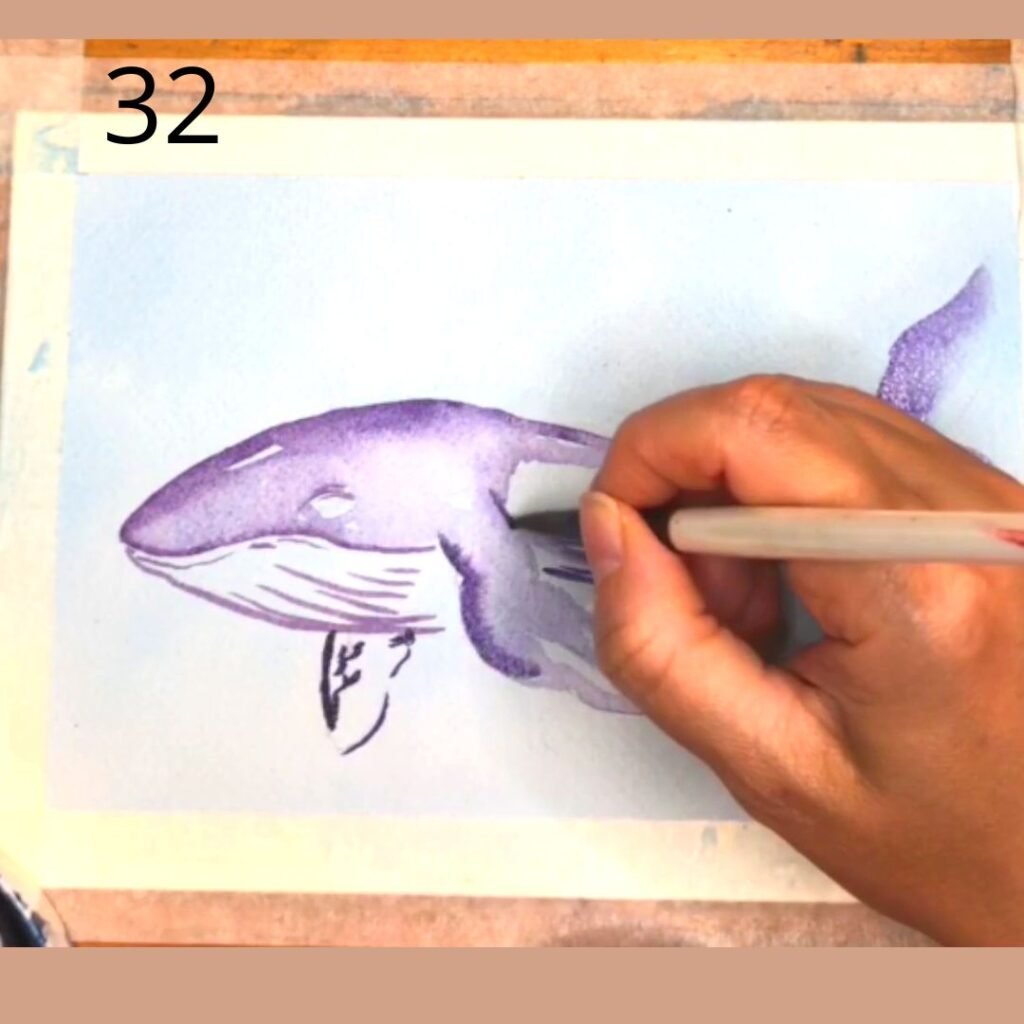
adding some extra shadow by applying paint in some areas of the top body as you can see in the picture.

just wet you brush with water and spread the paint along the top body.
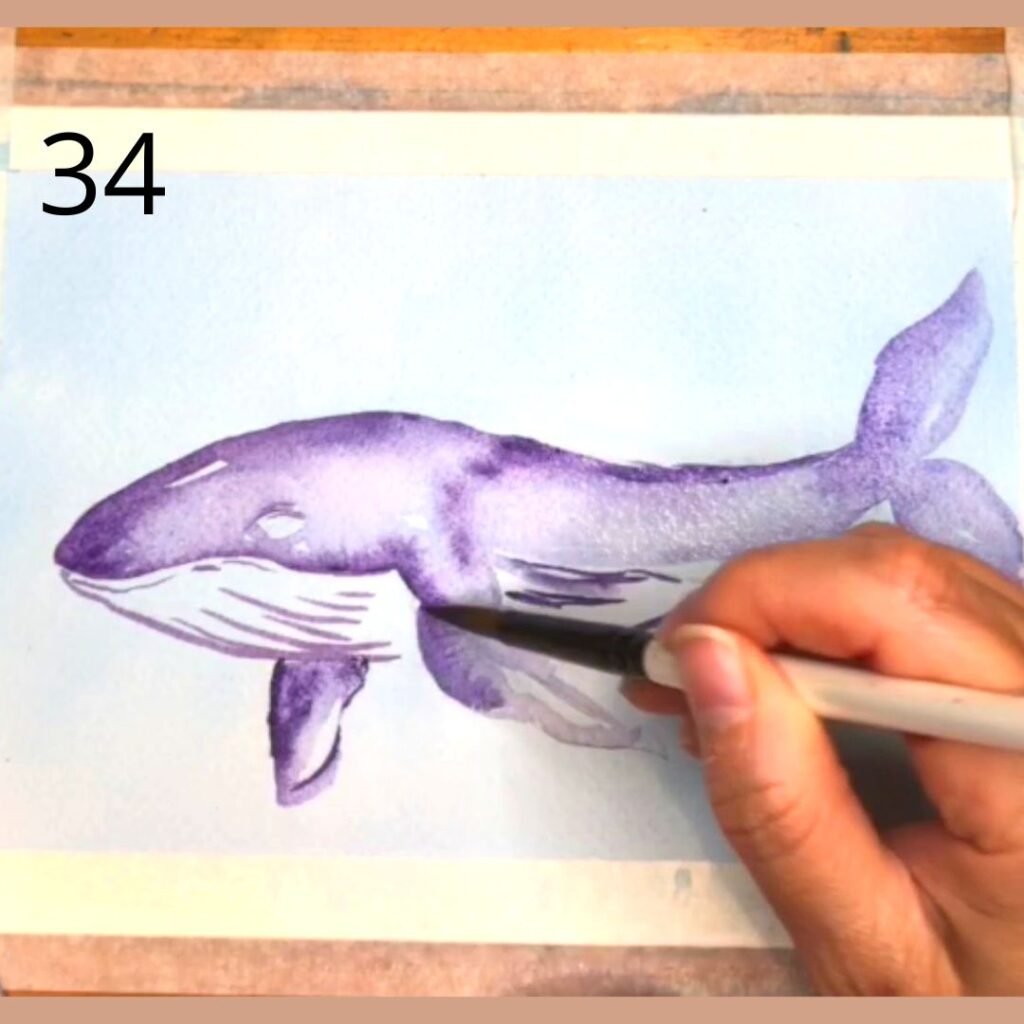
add some extra shadows using strong purple in some areas of the top body. leave the belly white for the moment.
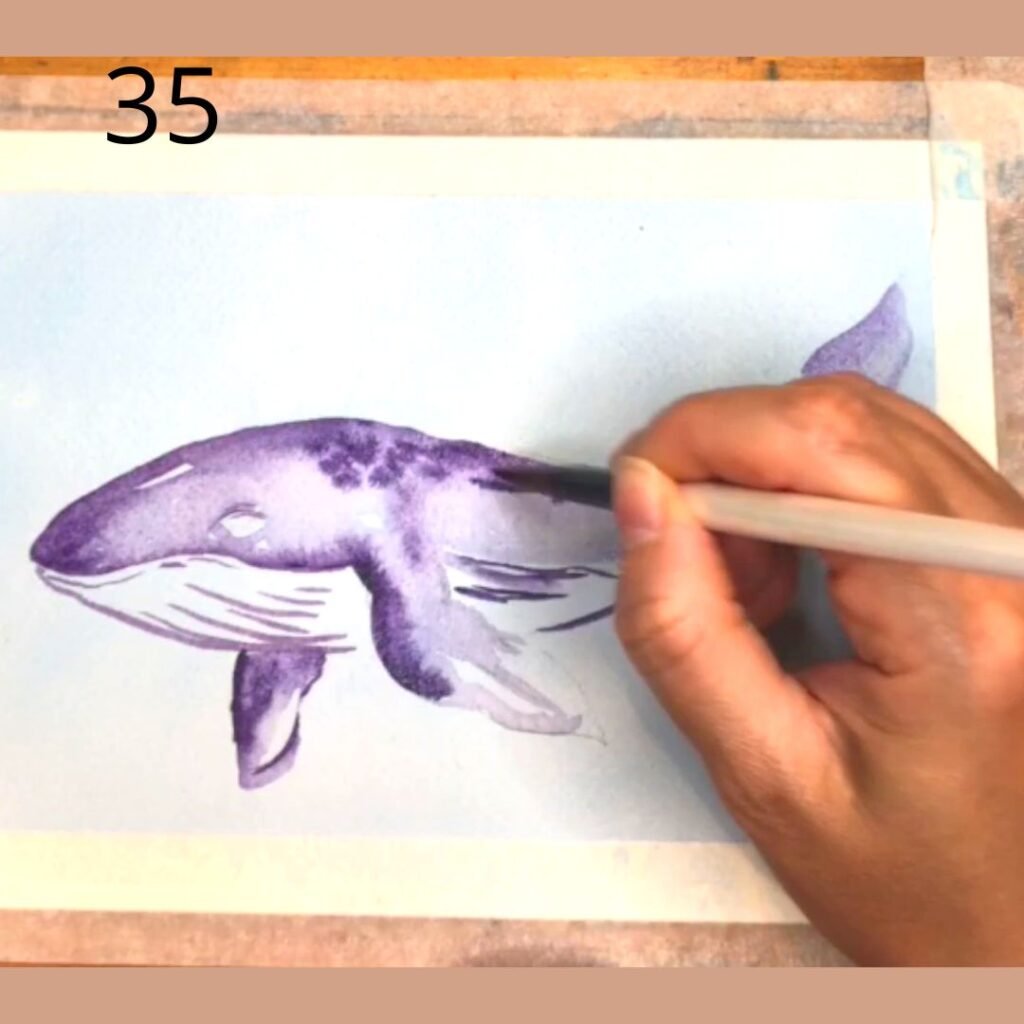
add some soft dotes on top of the Wales heard to create a texture.
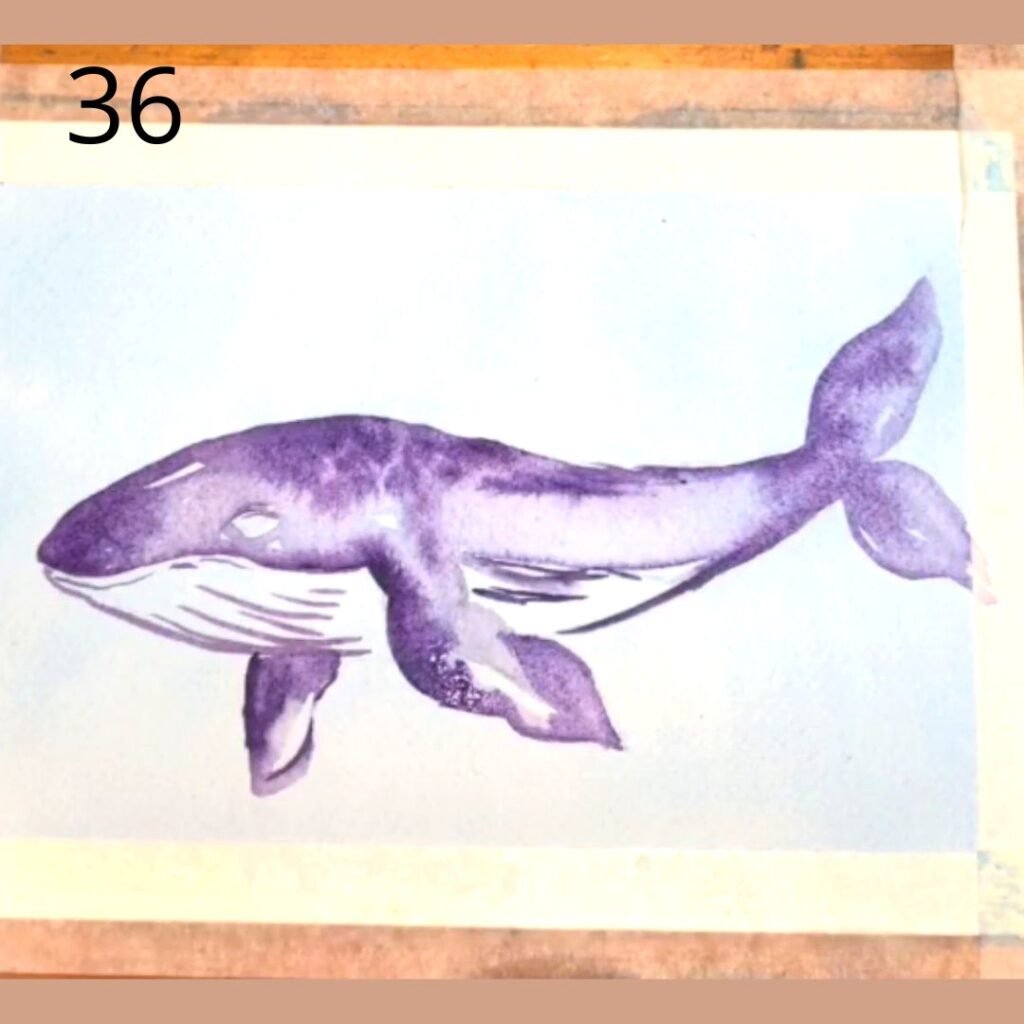
is looking good:)
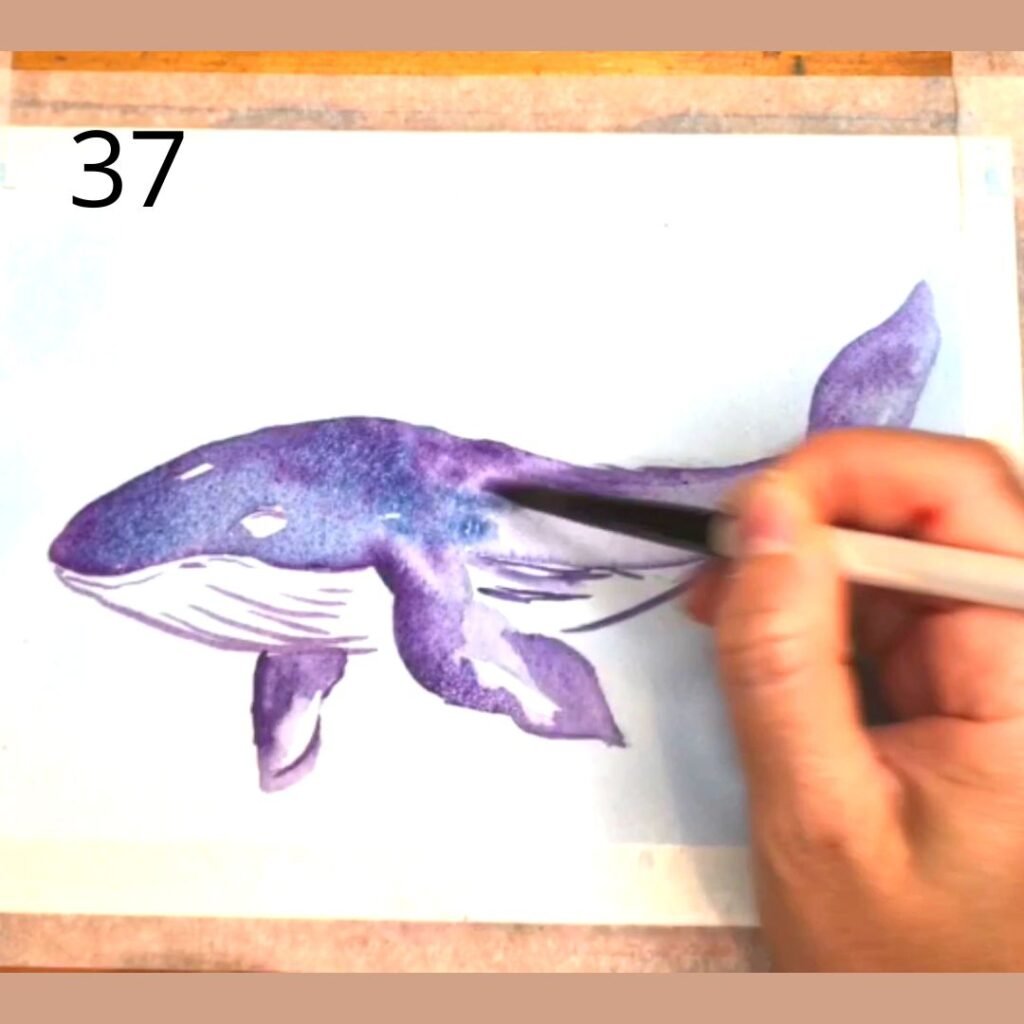
Now is time to add a layer of blue to the up area of the body as you can see in the image.
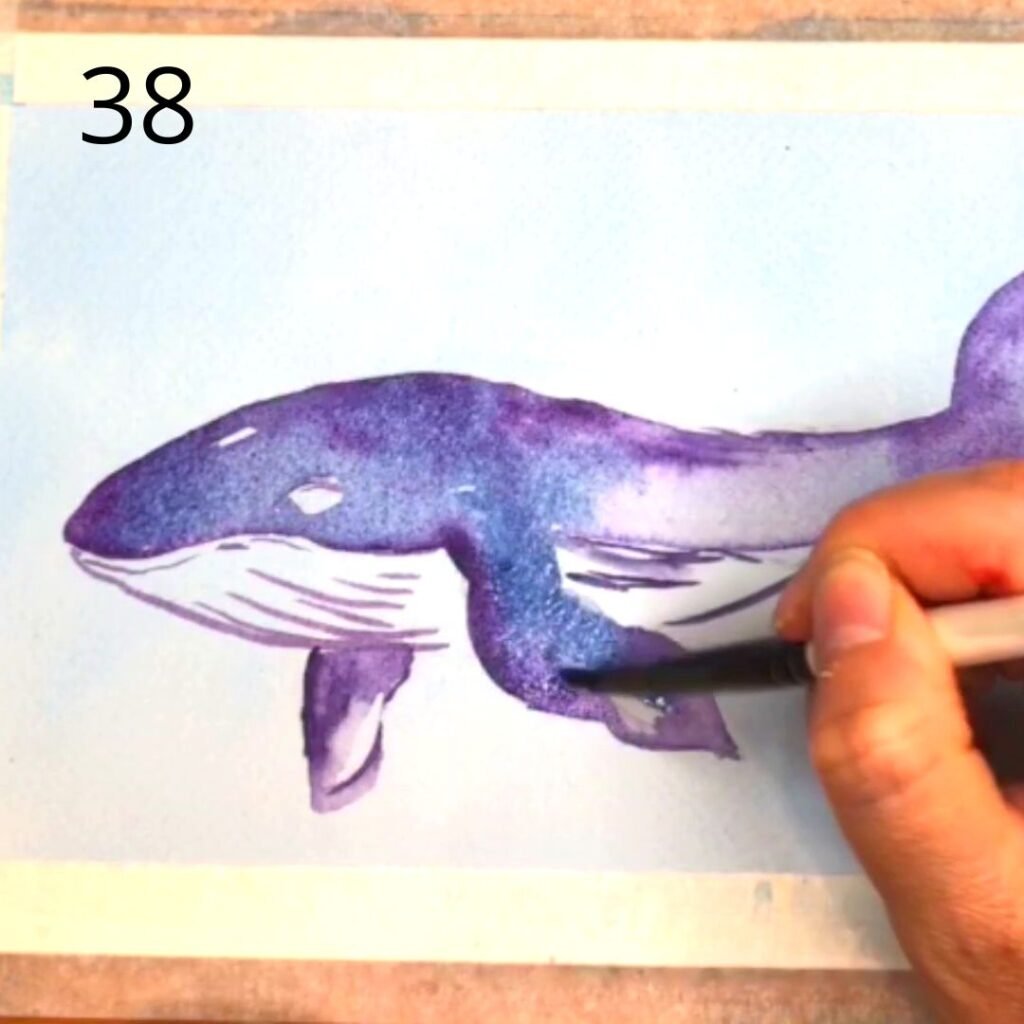
starting from the head continue along the body.
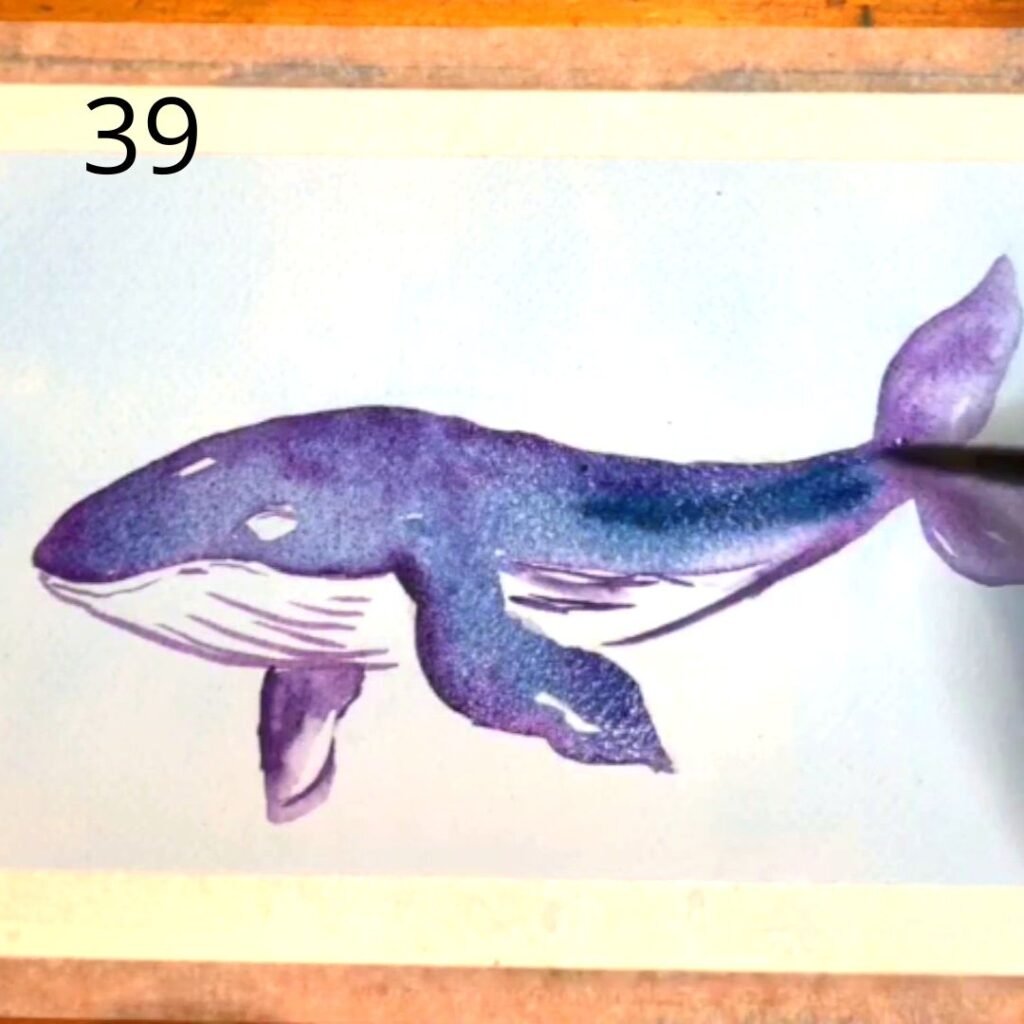
until all up area of the body is covered.

looking good:).

add some very light blue to the belly area.
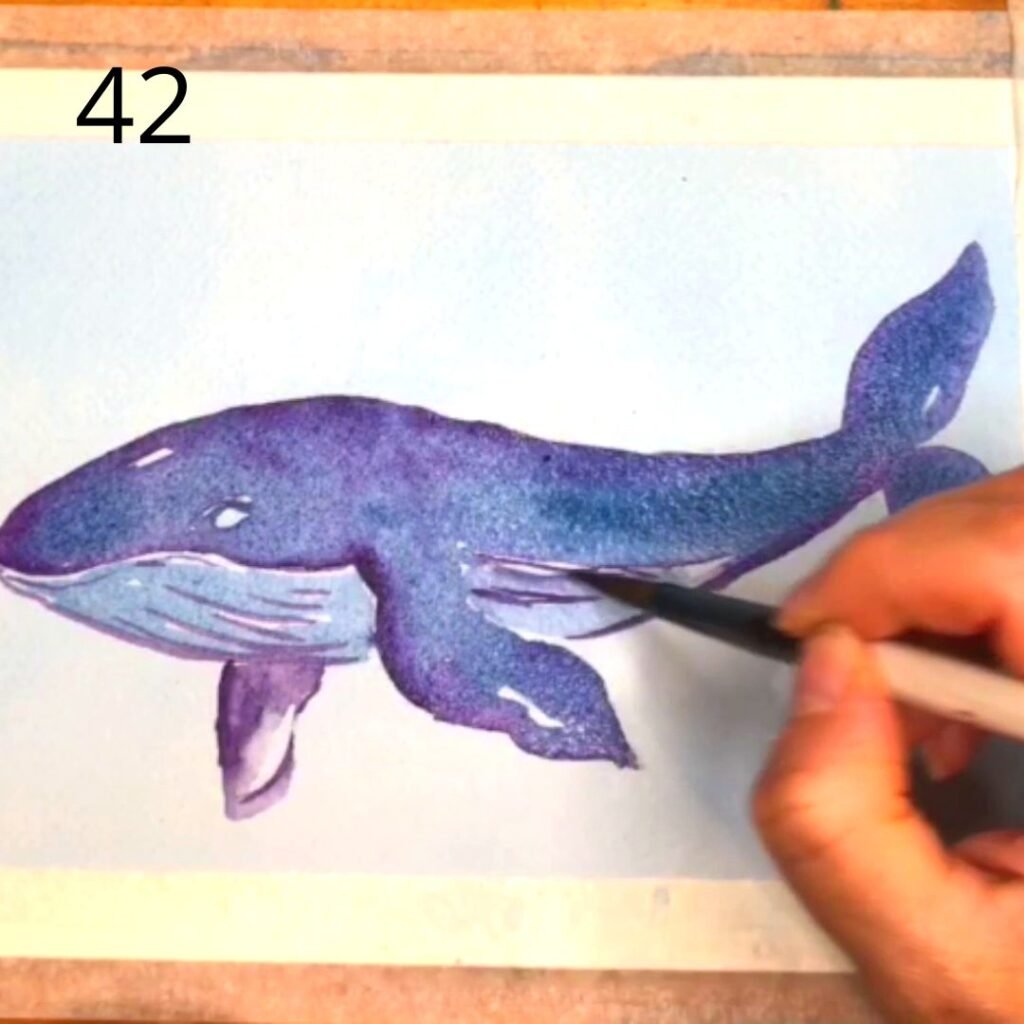
until is all covered.
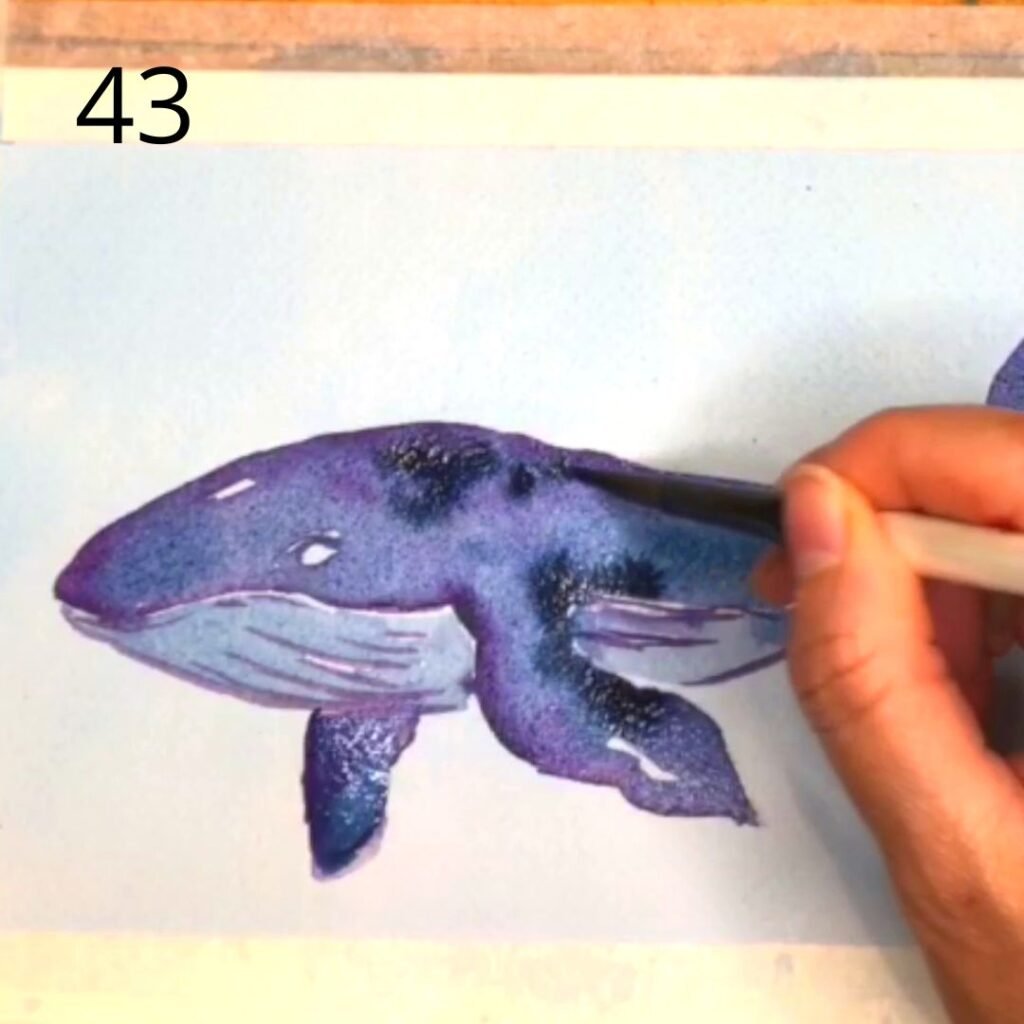
add some strong dark blue to some areas of the top area of the body.
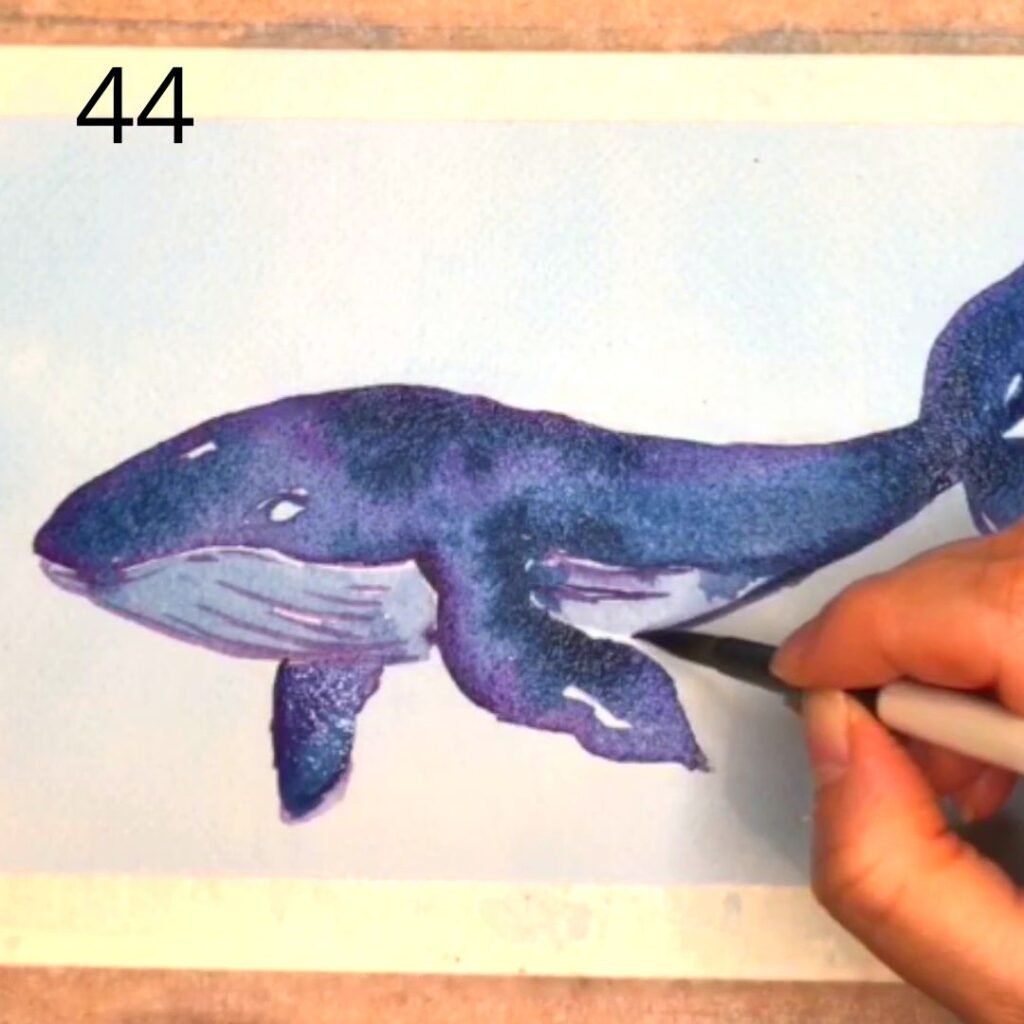
add some lines to the belly.
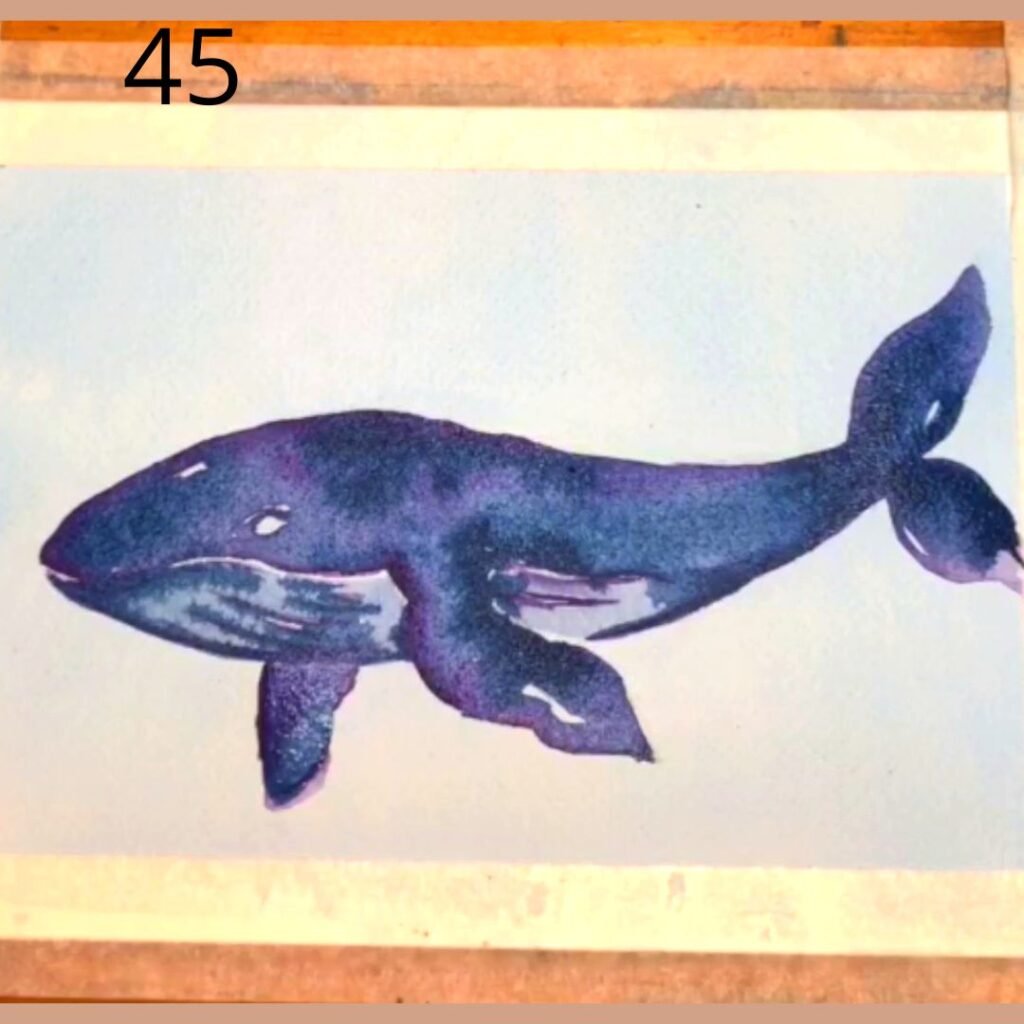
is looking good.
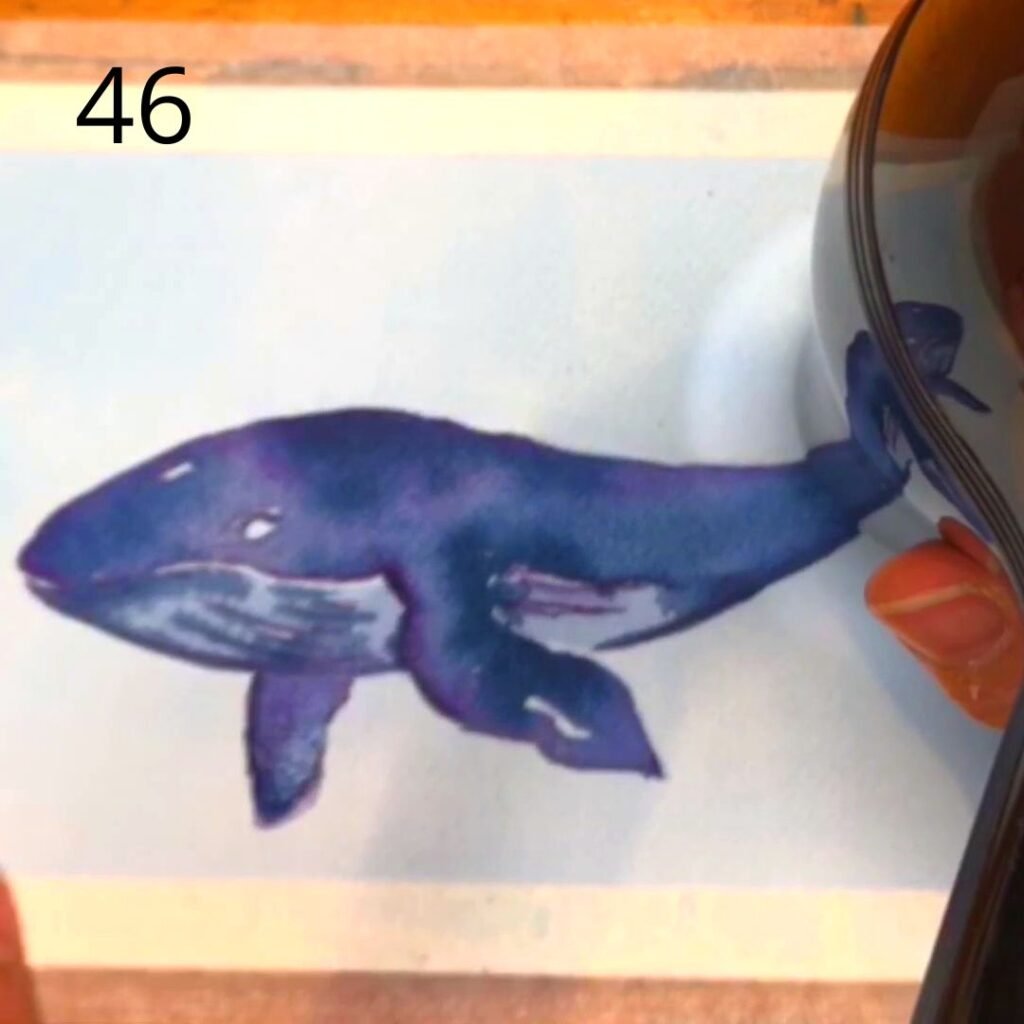
let dry or use the hair dryer.
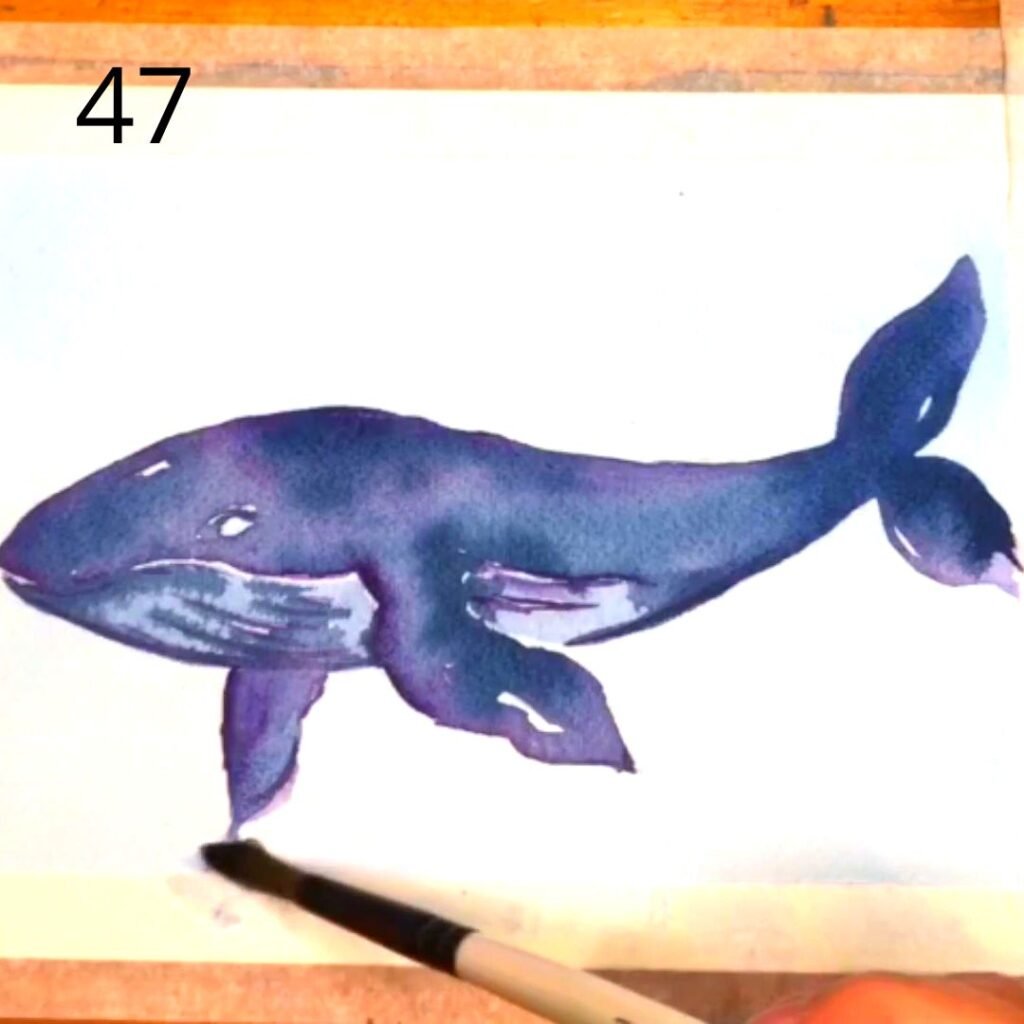
keep going.
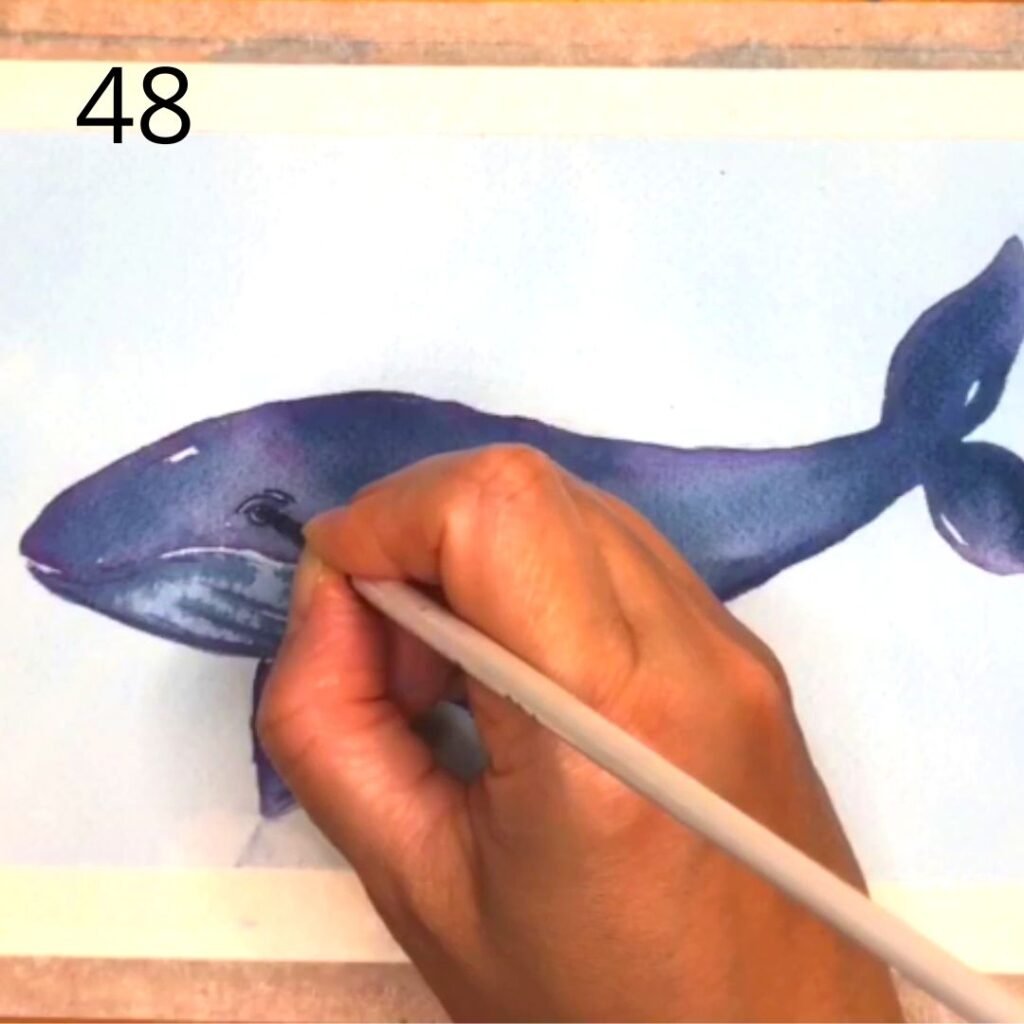
using your small round brush, use some black or dark blue to add the details of the eyes and belly.

keep going to outline the mouth and lines of the belly.

add some texture to the top skin of the wale as show in the image.

add some bubbles to the water above the head.
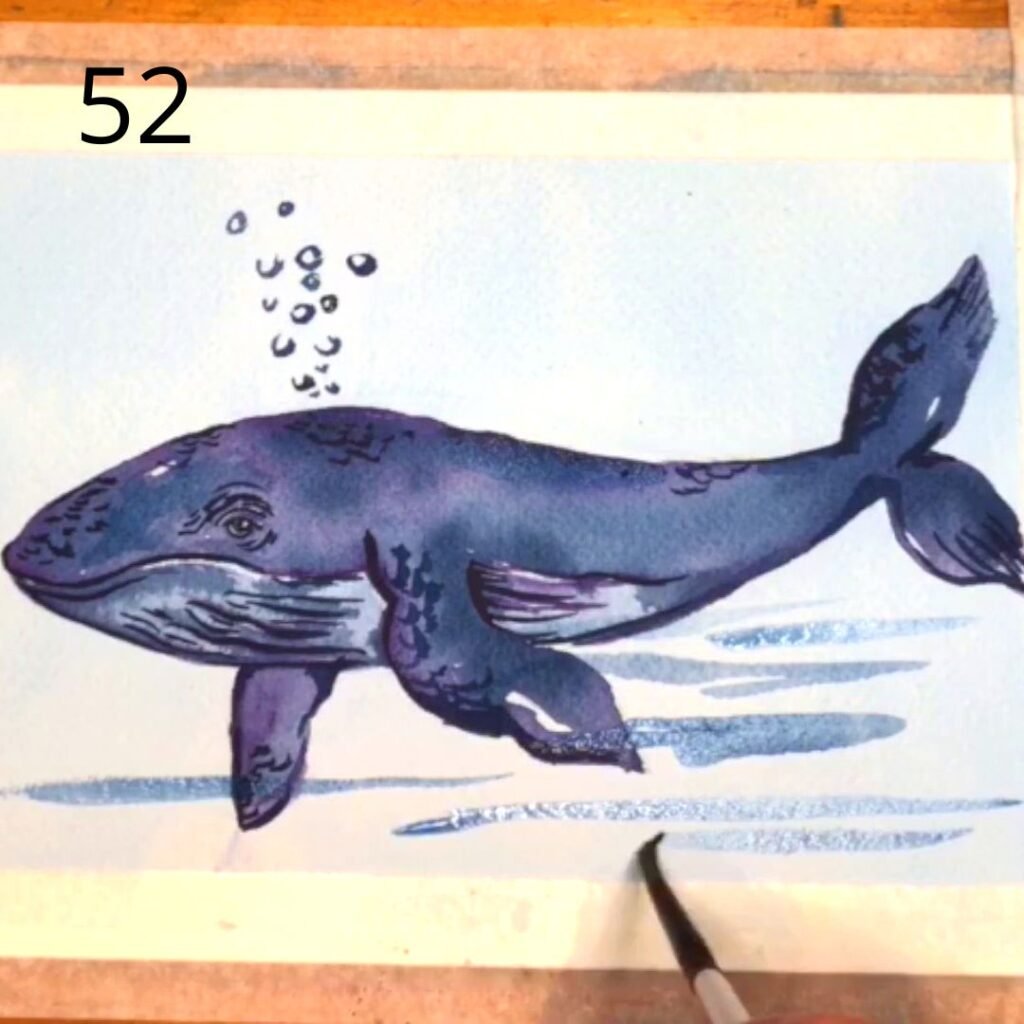
using a wet brush with some light blue, paint some lines of water, around and on top of the wale.
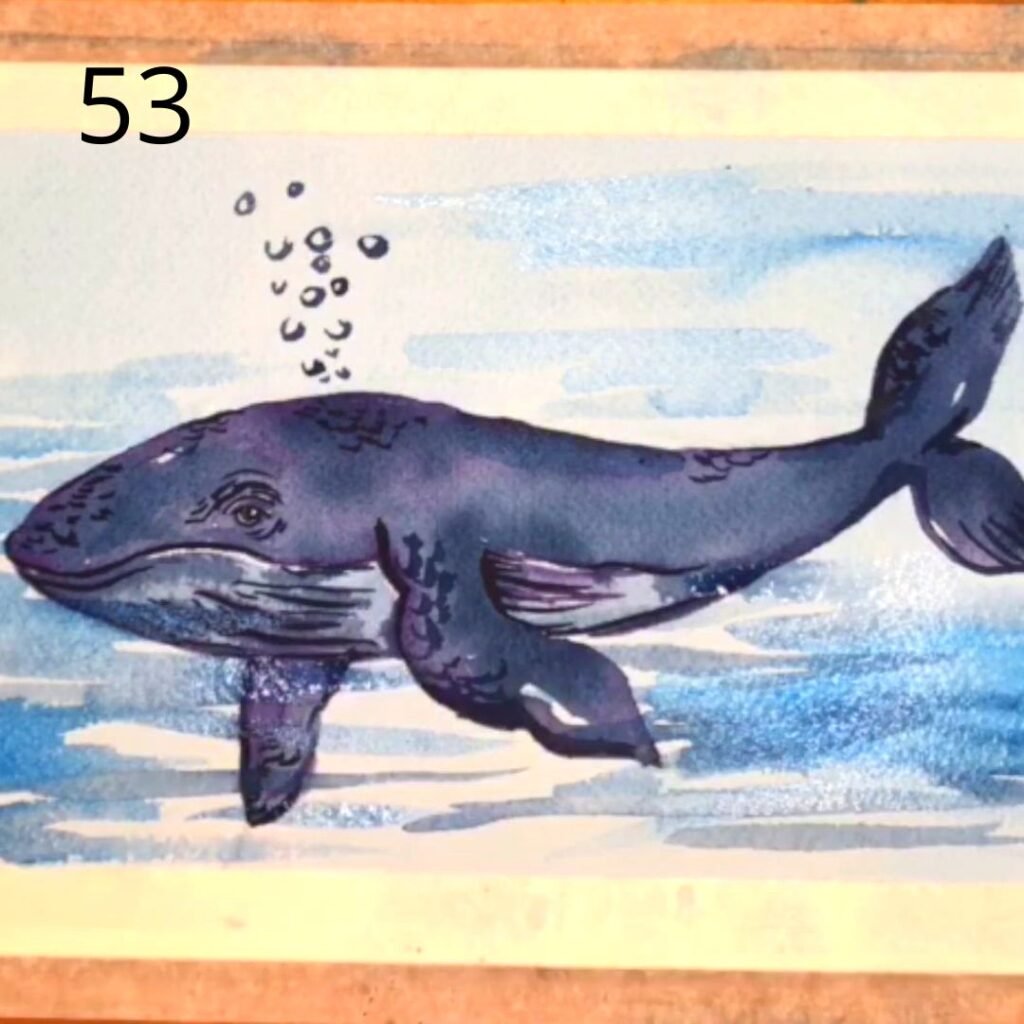
is looking good:).

add some extra lines all around with different tons on blue, lighter and darker.

our wale is getting into shape.
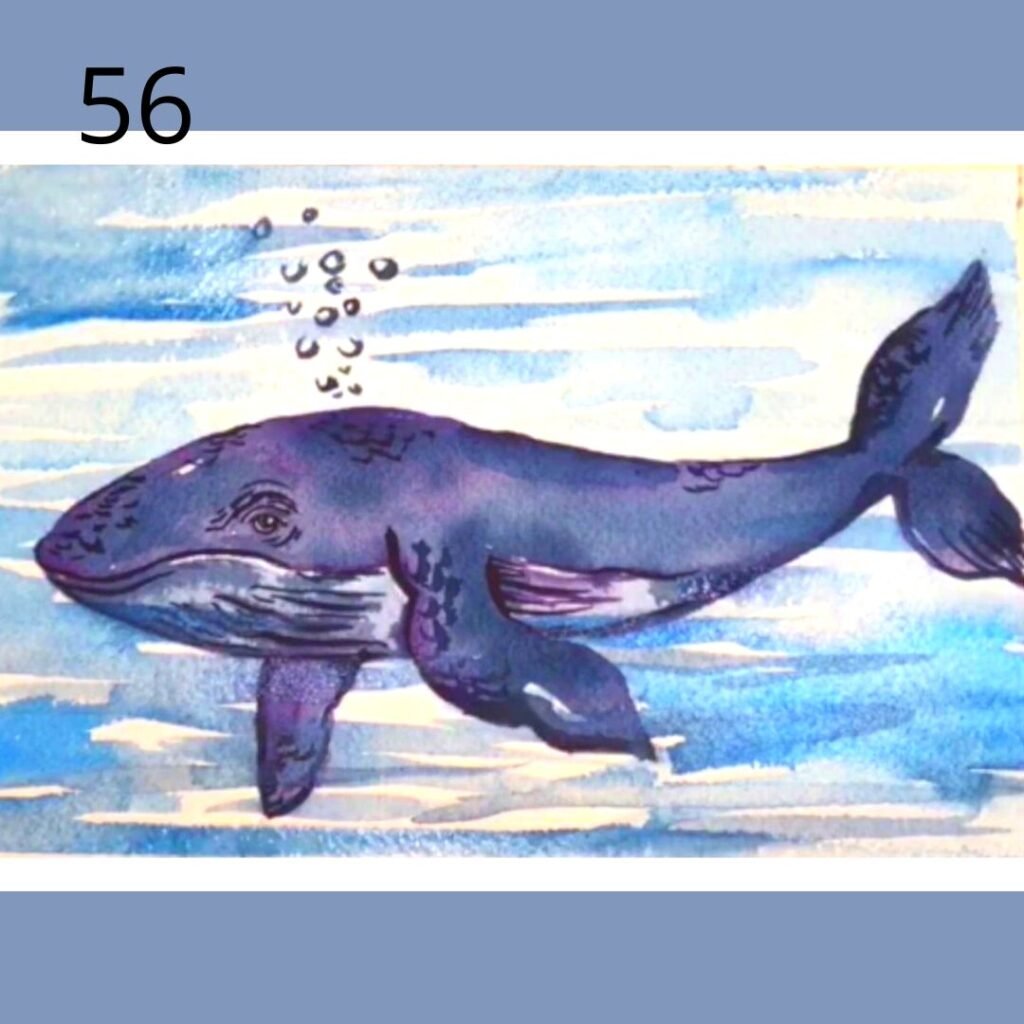
let dry or use the hair dryer.

well done:).
